
Last updated October 16, 2026
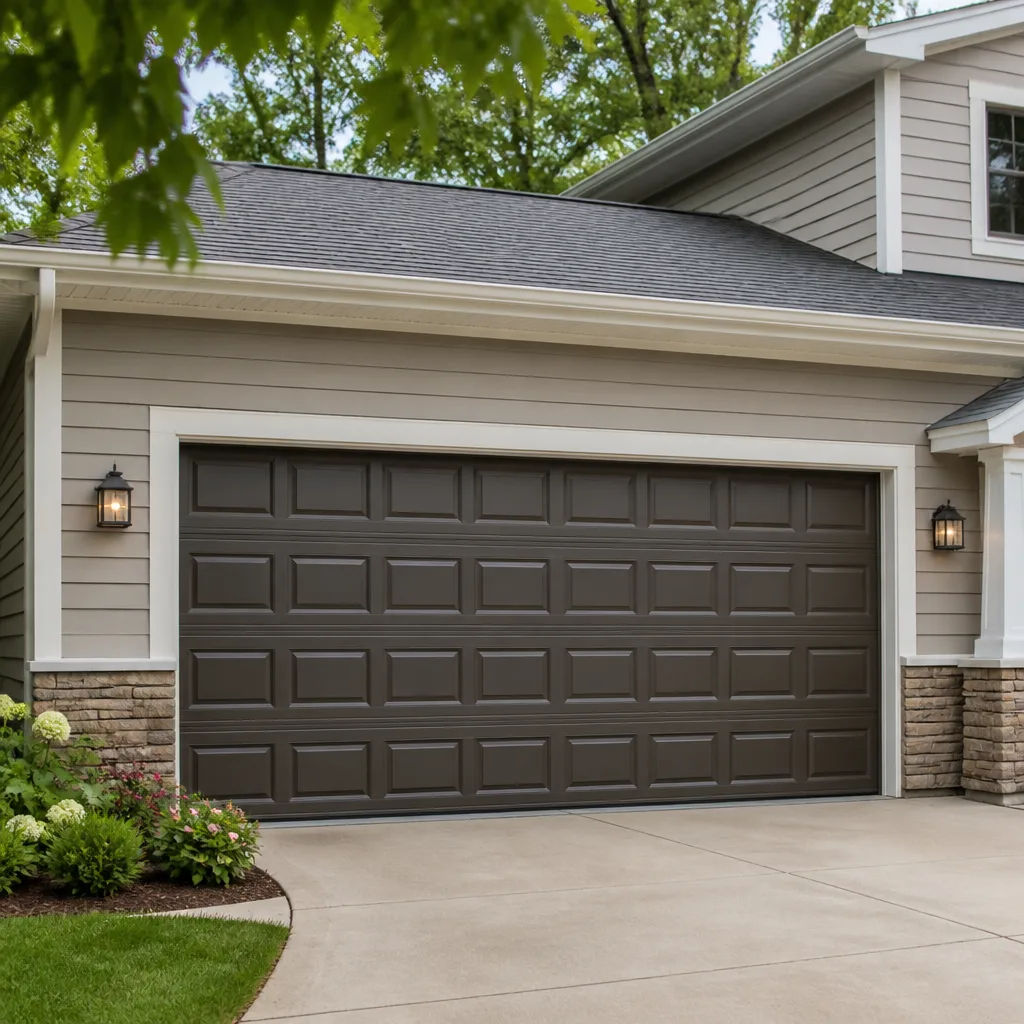 Raised-panel steel
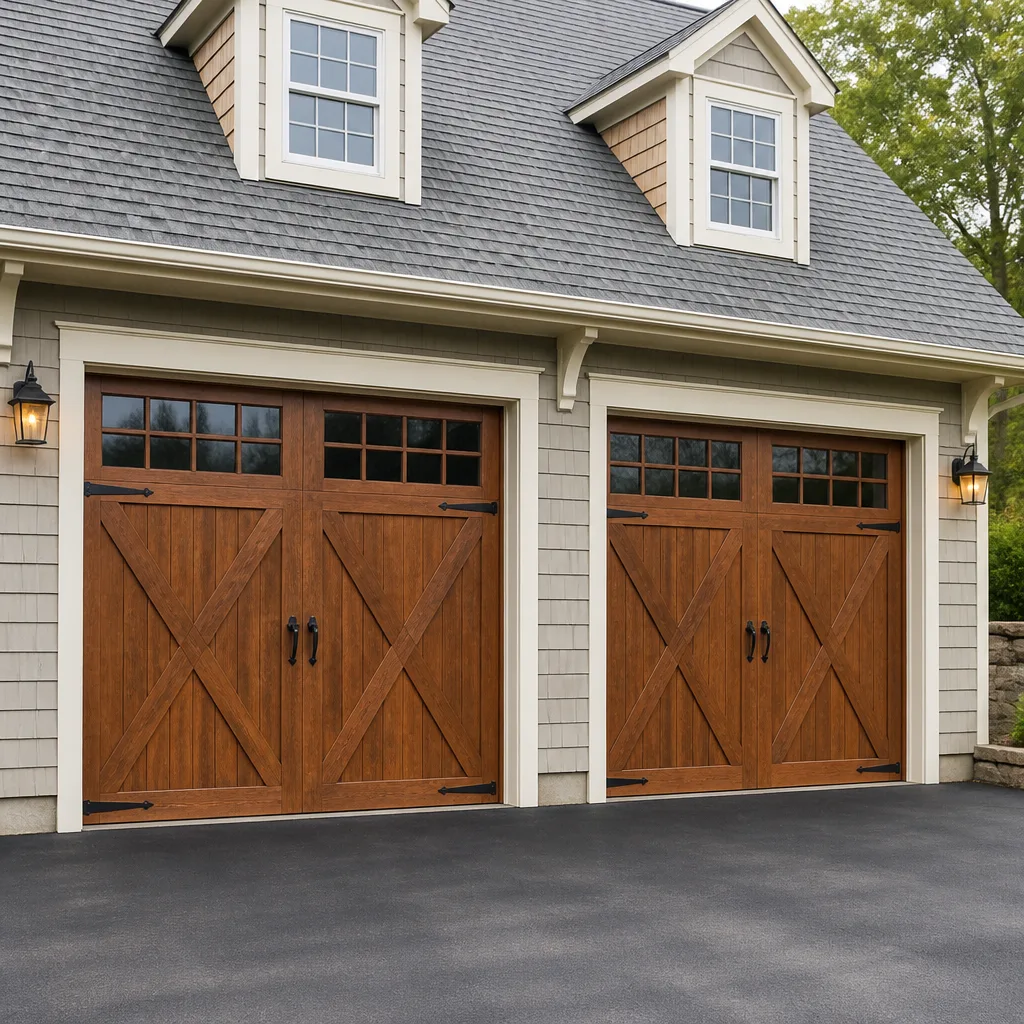 Carriage house
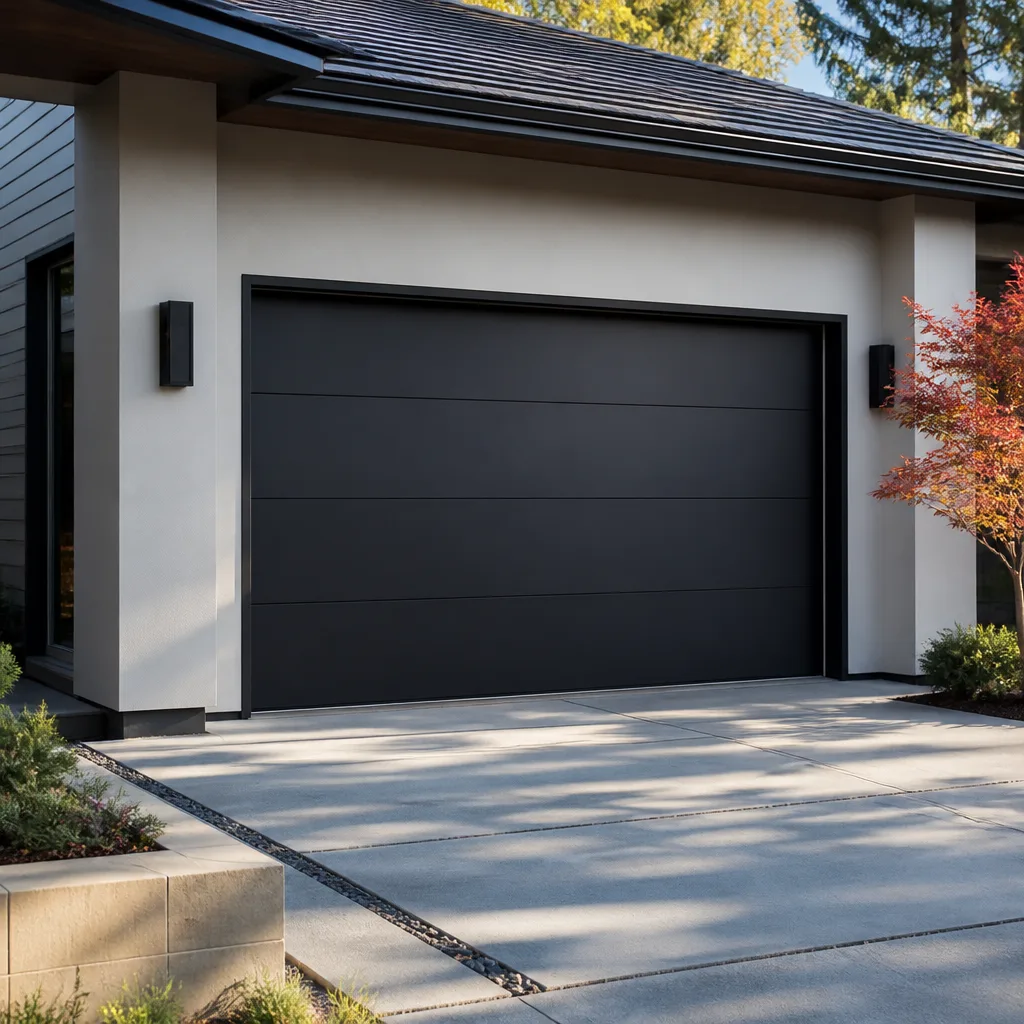 Modern flush
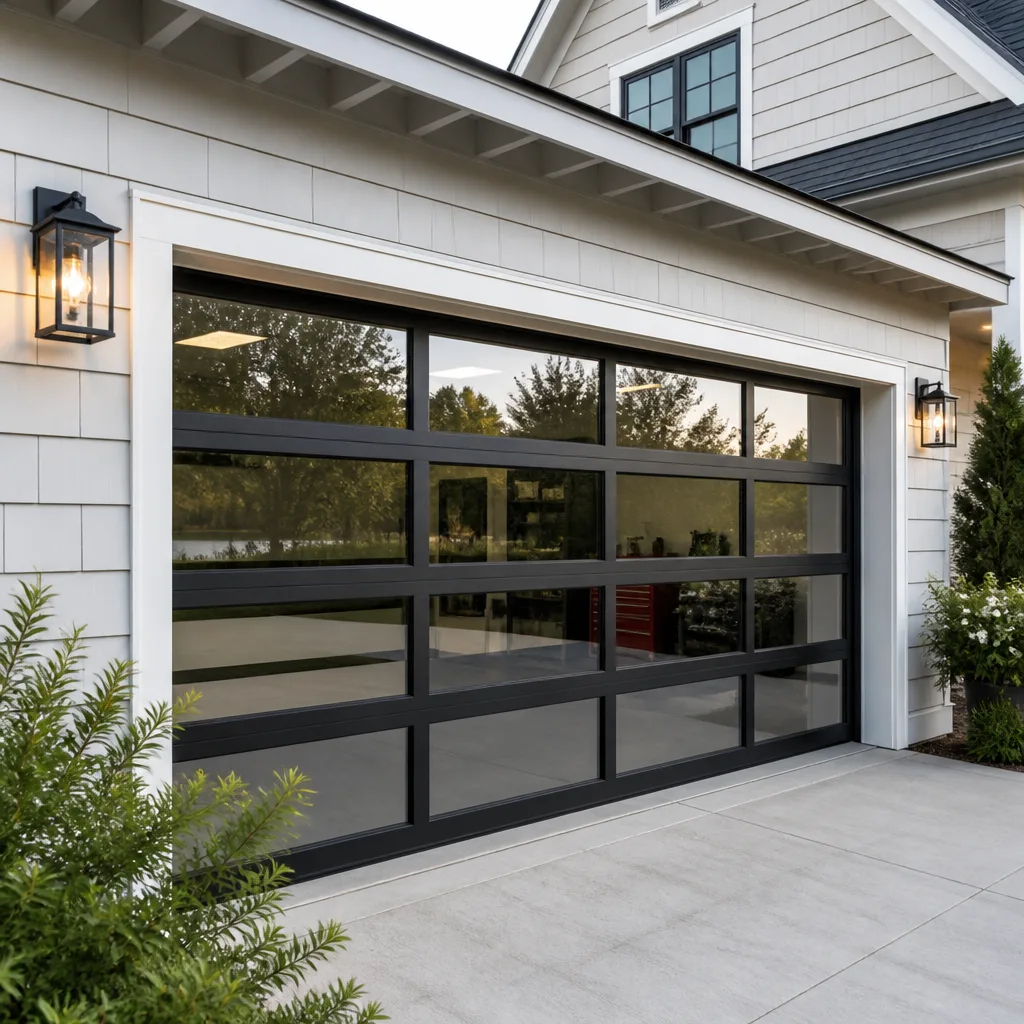 Full-view glass
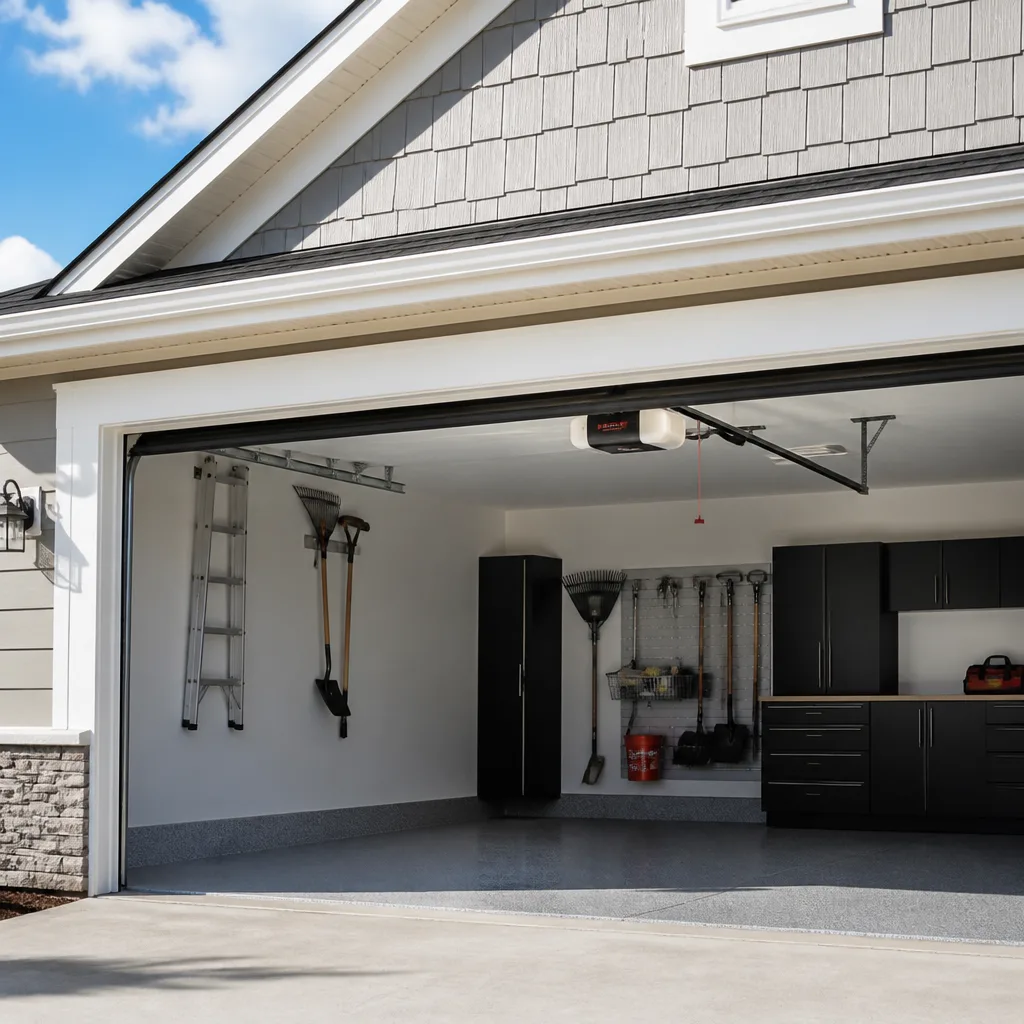 LiftMaster openers
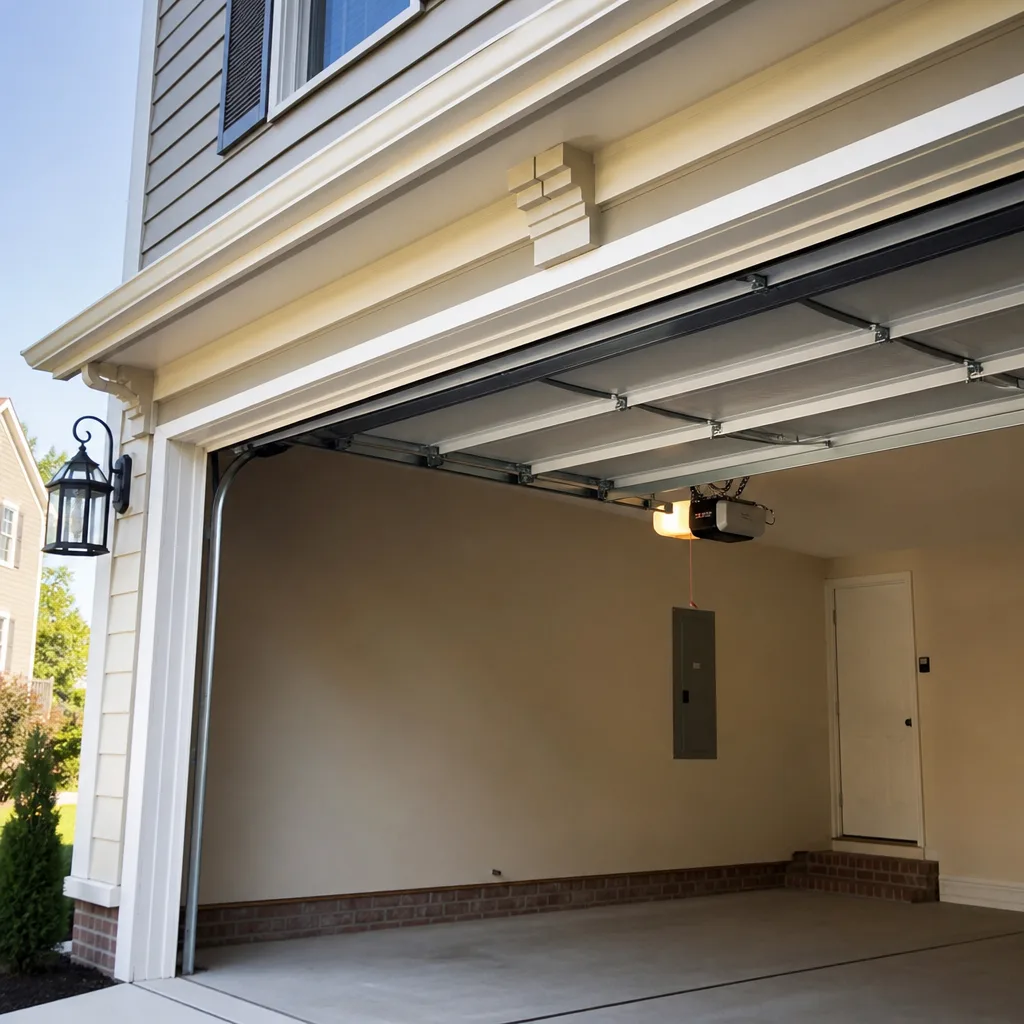 Chamberlain openers
Full 25-point door and opener safety check with every visit - springs, cables, rollers, tracks, and your LiftMaster or Chamberlain opener included
You get a price before we start. It does not change when the truck arrives.
Get your free estimateDIY vs Professional Garage Door: The San Antonio Homeowner’s Decision Guide
Here’s a number that should stop you cold: the Consumer Product Safety Commission records roughly 30,000 garage door-related injuries every year in the United States. Almost none of them happen when the door is going up and down normally. They happen when someone is fixing the door. Specifically, they happen during spring adjustment, cable work, and emergency cord use. The YouTube video made it look like a 45-minute Saturday project. This guide gives San Antonio homeowners something those videos don’t: a task-by-task breakdown of what is actually safe to touch, what isn’t, and why the difference matters more in our climate than anywhere else in Texas. For more guides & resources, visit our blog.
Styles & brands we work with
Quick Answer
The honest answer is that most garage door tasks are not a DIY-versus-professional decision at all. Lubrication, sensor alignment, and weather seal replacement are safe weekend jobs for any homeowner. Torsion spring work and cable replacement are not safe, not legal in some municipalities without proper permitting, and routinely turn a $200 repair into a $600 recovery job. The right question is not “can I do this?” but “does this specific task store dangerous energy?” If the answer is yes, call a professional.
Table of Contents
- What’s Safely DIY: The Three Tasks That Won’t Hurt You
- What’s Never DIY: Spring and Cable Work Explained
- Winding Bars: The Specific Object That Causes Most Injuries
- Why San Antonio Heat Changes the DIY Calculus
- Garage Door Opener Problems: The Trolley Carriage Trap
- The True Cost of a Failed DIY Attempt
- What a Professional Does in the First Five Minutes That You Can’t
- The Six Most Common Garage Door Tasks, Ranked by Risk
- Common Mistakes to Avoid
- When to Call a Professional
- Frequently Asked Questions
- The Bottom Line
What’s Safely DIY: The Three Tasks That Won’t Hurt You
We’re going to be straight with you: there are exactly three garage door maintenance tasks that a homeowner can safely perform without special tools, special training, or special risk. In our experience across San Antonio, these three tasks cover about 80% of the annoyances that make a door “act up” without actually being broken.
1. Lubricating Moving Parts
This is the single most underperformed maintenance task in residential garages. The rollers, hinges, and the torsion spring itself (the large coil mounted above the door that does most of the lifting) all benefit from a silicone-based or white lithium lubricant applied every six months. Use a spray with a straw nozzle. Apply it to the roller bearings, the hinge pivot points, and along the spring coil. Do not use WD-40. It is a solvent, not a lubricant, and it will strip the existing grease off the parts. This takes fifteen minutes and carries zero stored-energy risk because you are not loosening, removing, or adjusting anything. In San Antonio’s dry climate, dust accumulates quickly and acts as an abrasive. Lubricating regularly extends the life of rollers and hinges measurably.
2. Photo Eye Sensor Alignment
If your door refuses to close and the opener light blinks, the problem is nearly always the photo eye sensors mounted about six inches off the floor on each side of the door. These are the small boxes with a lens. They send an invisible beam across the opening. If the beam is blocked, misaligned, or dirty, the opener assumes something is in the way and refuses to close. The fix is simple: wipe the lenses with a dry cloth, check for anything stacked in front of them, and gently swivel the bracket until the indicator light on each sensor turns solid. A green light on one side and a red or amber light on the other usually means they are aligned. This is a legal, safe, five-minute fix. No tools required beyond your hands.
3. Bottom Seal Replacement
The rubber strip along the bottom of the door is the first line of defense against San Antonio’s summer dust, the occasional heavy rain, and the critters looking for a cool spot. This seal dries out and cracks over time, especially on west-facing doors that take direct afternoon sun. Replacing it is a slide-out, slide-in job. You remove the old seal by pulling it out of the aluminum retainer channel, then slide the new one in. It costs $20 to $40 for the material at any San Antonio hardware store and takes a half hour. No stored energy, no electrical work, no risk.
These three tasks are genuinely, unambiguously DIY. If you are new to garage door maintenance, start here. Build your confidence on the safe stuff. And if you don’t have the time or inclination, any of these can also be handled in a single service call through our Garage Door Repair in San Antonio page.
What’s Never DIY: Spring and Cable Work Explained
Now we get to the line that separates a weekend project from an emergency room visit. Torsion springs and lift cables are the two components you should never attempt to repair, adjust, or replace yourself. Here is the physics of why.
A torsion spring is a tightly wound coil of hardened steel mounted on a metal shaft above the door opening. When the door is closed, that spring is under full tension. It is storing the energy required to lift a door that typically weighs between 150 and 250 pounds. That energy is measured in foot-pounds, and on a standard residential door, the spring is holding back somewhere between 50 and 90 pounds of torque while at rest. When that energy releases, it releases all at once. The spring does not leak tension gradually. It snaps. The ends of a broken spring move at velocities fast enough to shatter bone.
The lift cables are the steel wires that run along each side of the door and attach to the bottom brackets. They work with the spring to distribute lifting force. A frayed cable under tension can part without warning, and a cable that parts while you are working near it becomes a whipping steel line. Both tasks require releasing stored tension in a controlled sequence with specialized tools and calibrated measurements. If you release tension in the wrong order, or fail to relieve it completely before loosening a bolt, the consequence is immediate and severe.
This is not a “call a professional because it is complicated” argument. It is a “call a professional because the failure mode is a metal bar moving through the space where your head is” argument. In San Antonio, our springs cycle through extreme temperature swings daily from April through September. Heat expands the steel, night cooling contracts it. The fatigue pattern this creates is different from what a homeowner in a moderate climate would see, and it is precisely why spring failures in our market are among the most common emergency calls any garage door company receives.
Winding Bars: The Specific Object That Causes Most Injuries
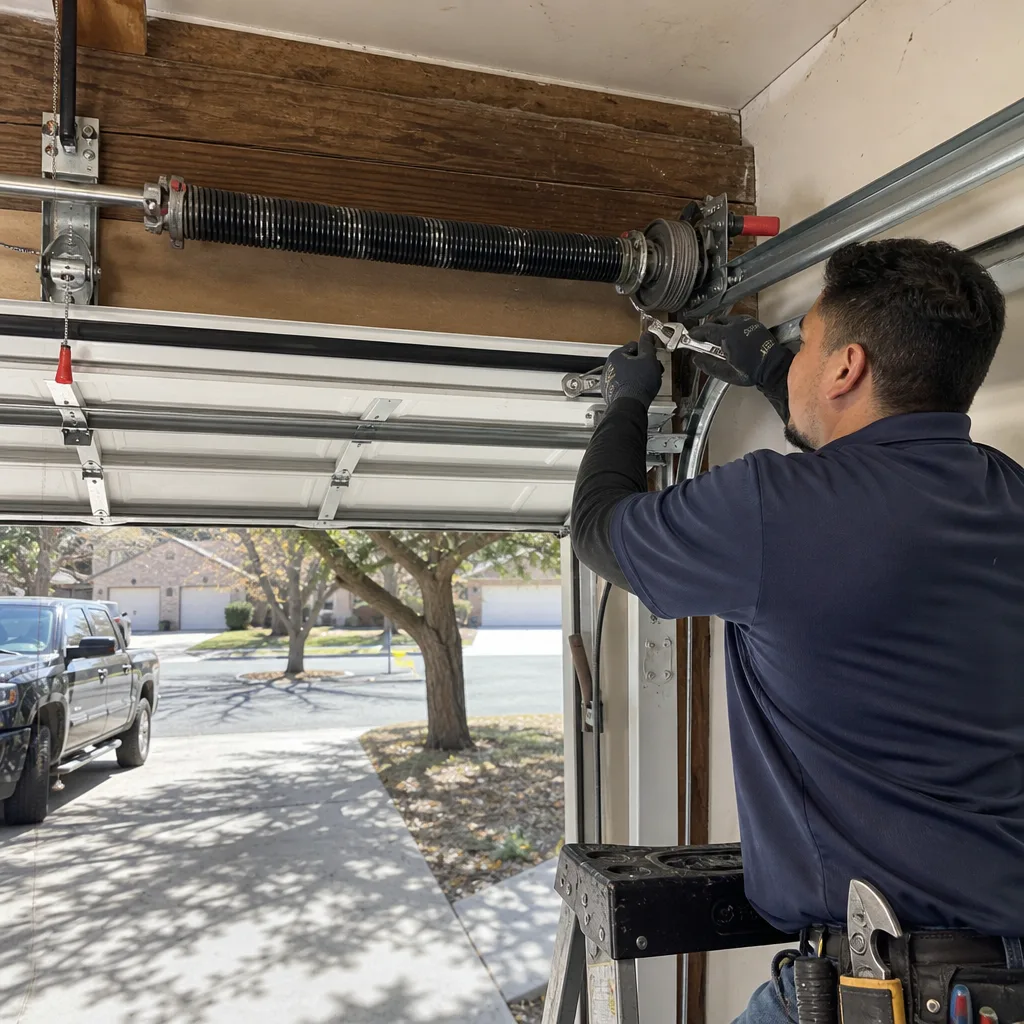
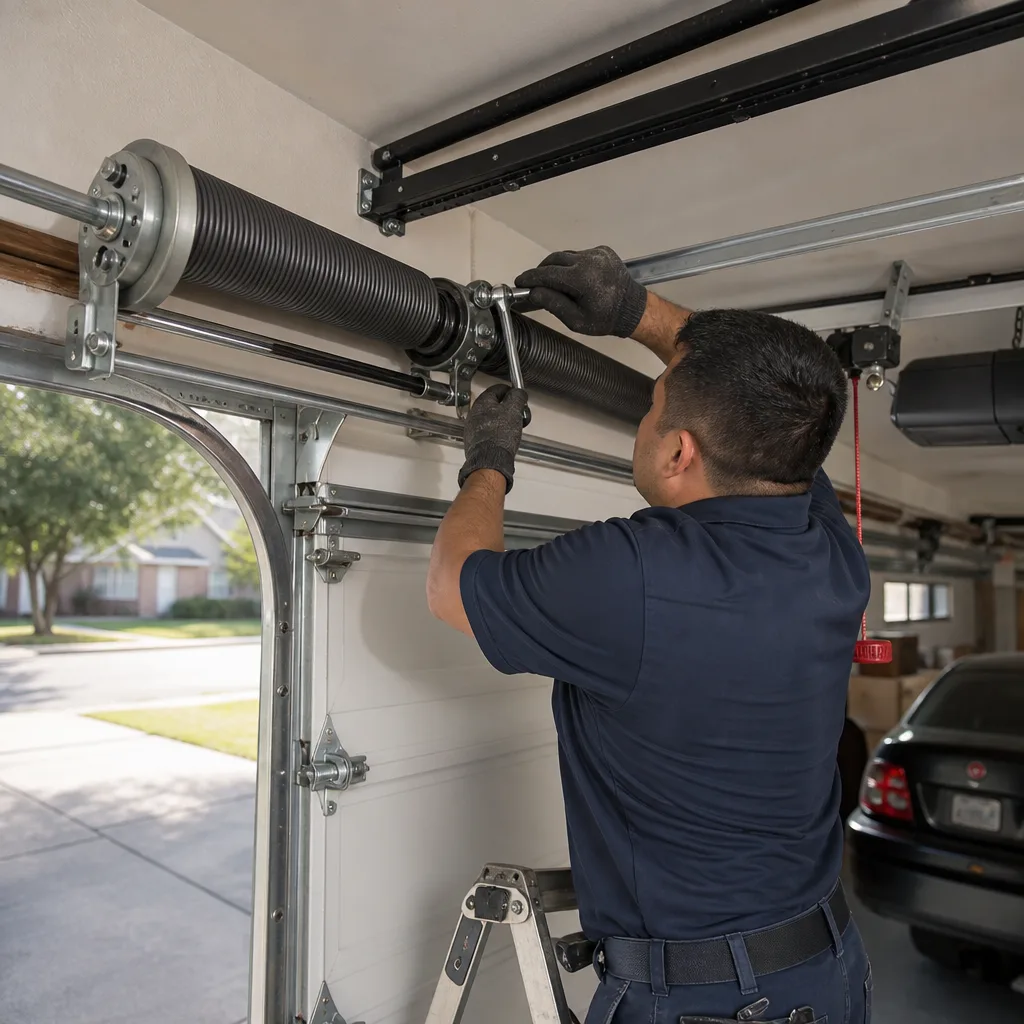
Here is the part that most DIY guides gloss over. When a professional winds or unwinds a torsion spring, the tool used is a pair of solid steel rods called winding bars. They are typically 18 inches long, made of cold-rolled steel, and precisely sized to fit the winding cone sockets on the end of the spring. They are not optional. They are not interchangeable with other tools. They are the tool.
The most common spring-related injury sequence goes like this: a homeowner watches a video that says to use “a couple of long screwdrivers” or “a piece of rebar you have lying around.” They insert the improvised tool into the winding cone. The tool bends, because screwdrivers are not rated for torsional load. Or the tool slips out of the socket, because rebar is not machined to the socket’s tolerance. The cone snaps back. The spring releases 70 foot-pounds of torque instantly. The cone assembly, still attached to the tool or flying free, strikes whatever is closest. Frequently that is a hand, a forearm, or a face.
Even with proper winding bars, the procedure requires standing in the correct position relative to the cone, maintaining the bar at full insertion depth throughout each quarter-turn, and never taking a break mid-wind. A loaded bar left in the cone while you step away to answer your phone is a loaded weapon pointed at an unpredictable target. This is not a skill a homeowner develops from a video. It is a skill a technician develops over years of supervised repetition. We do not say this to gatekeep. We say it because the specific mistake that puts people in the hospital is not “attempting a spring repair” broadly; it is “attempting a spring repair with an improvised winding tool.” That single decision accounts for more serious injuries than every other DIY garage door mistake combined.
Why San Antonio Heat Changes the DIY Calculus
San Antonio is a unique market for garage door work because of the heat. Not the kind of heat that makes you uncomfortable. The kind of heat that changes the physical properties of metal. Let us explain what that means for your door.
A torsion spring is a heat-treated steel component. The manufacturer specifies a cycle life, usually 10,000 cycles for a standard spring. A cycle is one open and one close. In a mild climate, that spring sees fairly consistent temperatures year-round. The steel behaves predictably. In San Antonio, a spring on a west-facing garage door can reach surface temperatures well over 140 degrees on a July afternoon. Then the temperature drops 50 degrees overnight. That daily thermal cycle creates micro-stress in the steel that accumulates over time. The spring does not fail because it reached the end of its rated cycles. It fails because the stress accumulation created a fatigue point.
Here is what that means for a DIYer: a spring with 70 foot-pounds of stored torque is dangerous whether the steel is fresh or fatigued. But a fatigued spring has unpredictable failure characteristics. It can snap during an adjustment procedure even when you are doing everything “right,” because the internal stress pattern is not visible and not detectable by hand. An experienced San Antonio technician has seen hundreds of these failures and can often identify a spring nearing the end of its service life by feel and by small performance tells: the door sits slightly unevenly, the opener labors on the first few inches of travel, the spring shows a visible gap forming in a coil. A homeowner has none of that pattern recognition, and no video can provide it.
The San Antonio dust factor is also worth noting. Our fine caliche dust gets into everything. It acts as an abrasive inside the spring coils, accelerating wear on the coil interfaces. It clogs the lubrication in rollers and hinges faster than a homeowner expects. None of this makes DIY impossible. It makes DIY less predictable in this specific city than a generic YouTube tutorial would suggest.
If your door is making unusual noises or the spring looks like it has a visible gap, that’s the moment to bring in someone who has seen San Antonio doors fail for 25 years. You can start with our Doyle Garage Doors San Antonio home page to understand the service area and what a typical visit looks like.
Garage Door Opener Problems: The Trolley Carriage Trap
Garage door openers occupy a middle zone in the DIY risk spectrum. Some opener problems are safe to address. Many are not, and the most common opener DIY disaster is one that almost no homeowner sees coming: the emergency release cord.
The emergency release cord is the red rope hanging from the opener rail. It disconnects the trolley carriage, the mechanism that pulls the door along the rail, from the opener motor. Its intended purpose is to allow you to open the door manually during a power outage. Its most common misuse is as a tool for “resetting” the opener when the door is misbehaving. Here is what typically happens: a homeowner has an opener that is not closing properly. They pull the release cord, expecting it to fix the problem. The door slams shut. The carriage, now disconnected, is out of position. The homeowner tries to re-engage it by running the opener. The carriage slams into the stop at the wrong position. The plastic gears inside the carriage strip. Now the opener does not work at all, and the repair requires replacing the carriage assembly.
The stripped trolley carriage from a mishandled emergency cord pull typically costs $180 to $240 more than the original opener repair would have cost. This is a common recovery job for us across San Antonio. The homeowner was trying to save a service call. The result was a more expensive service call.
What can you safely do with an opener? Replace the remote battery. Reprogram a remote using the button on the back of the motor unit. Check the power source and the wall button. These are zero-risk tasks. What should you not do? Anything involving the carriage, the belt or chain, the limit switches, or the internal logic board. Those require opening the motor unit or working with the rail assembly under tension. If your opener is not opening or closing fully, or reversing when it shouldn’t, the safest call is to a trained technician. Our Garage Door Opener Repair in San Antonio page covers what those service calls involve.
The True Cost of a Failed DIY Attempt
Let’s talk about money, because the financial math of DIY garage door repair is almost always calculated incorrectly. Homeowners compare the cost of parts against the cost of a professional service call. That is the wrong comparison. The correct comparison is the cost of a successful professional repair against the cost of a successful professional repair plus the damage caused by a failed DIY attempt.
Here is a real Garage Door Cost Breakdown: The San Antonio Homeowner’s Reference for 2026 from the San Antonio market in 2025:
- Lubrication and maintenance DIY: $15 to $30 for lubricant and about an hour of your time. Zero risk of catastrophic failure. This is a good DIY.
- Sensor alignment DIY: $0. A five-minute fix. This is a good DIY.
- Bottom seal replacement DIY: $20 to $40 for the seal. Low risk. This is a good DIY.
- Torsion spring replacement, professional: $180 to $340 in San Antonio, typically done same day by a technician with two properly sized winding bars and the correct spring for your door’s weight. The spring itself is the largest variable: a standard 10,000-cycle spring runs on the lower end; a high-cycle spring rated for 25,000 to 30,000 cycles runs higher.
- Torsion spring replacement, DIY failure requiring professional recovery: The original spring cost plus potential damage to the door panel, the cable, the bearing plates, and in worst cases, the opener motor. Recovery jobs in San Antonio for a botched spring repair frequently run $500 to $800. That assumes property damage only. Medical costs from a spring injury add a zero to the right side of that number.
- Cable replacement, professional: $150 to $250 in San Antonio, including re-tensioning and a check of the spring balance.
- Cable replacement, DIY failure: The cable whips when it parts under tension. Damage to the door, the track, and possibly the vehicle parked in the garage. Recovery cost is unpredictable and often exceeds $800.
- Opener repair, professional: $120 to $350 for most San Antonio opener issues, depending on the component. A new LiftMaster or Chamberlain opener installed typically runs $450 to $800 depending on features.
- Opener repair, DIY failure (stripped carriage): The $180 to $240 premium on top of the original repair cost. This is the one DIY failure we see most often, because pulling the red cord feels harmless.
The pattern is clear. The safe DIY tasks are the ones where the worst-case failure costs nothing beyond the price of the part. The unsafe DIY tasks are the ones where the worst-case failure costs more than the professional repair would have, sometimes much more. That’s the calculation most YouTube tutorials never show you.
What a Professional Does in the First Five Minutes That You Can’t
When a trained technician shows up at a San Antonio garage, the first five minutes look very different from what a homeowner with a video can replicate. This is not a criticism of DIYers. It is a description of what calibrated tools and years of local experience provide.
Here is what happens in those first five minutes:
- Tension verification with a calibrated gauge. The technician attaches a tension gauge to the spring and measures the actual stored torque. This tells them whether the spring is under-tensioned or over-tensioned, which affects how hard the opener works and how evenly the door travels. A homeowner can’t measure this. There is no version of “eyeball it” that works for foot-pounds of stored energy.
- Cable fraying assessment under load. A technician examines the cables while the door is moving, looking for frayed strands, rust, and wear at the bottom brackets. This requires understanding what a cable under partial load looks like versus a cable showing healthy wear. By the time a fray is visible in a static inspection, the cable is often days away from parting.
- Limit-switch travel measurement. The limit switches inside the opener tell the motor where to stop on the up and down travel. A technician measures travel distance and compares it against the door’s actual position. A mis-set limit switch is the most common cause of “the door closes then immediately opens” complaints. It cannot be properly diagnosed without opening the motor unit and measuring.
- Roller and track wear inspection. San Antonio’s caliche dust accelerates roller wear. A technician can spot a roller about to seize, a bracket pulling loose from the track, or a hinge pin wearing through, all in the first visual sweep.
- Spring cycle age estimate. Based on the spring’s wire diameter, length, and visible wear pattern, a technician estimates remaining cycle life. In San Antonio, where heat fatigue shortens spring life, this estimate is refined by local experience.
None of these five steps involves heroic skill. They involve tools a homeowner doesn’t own, measurements a homeowner can’t take, and pattern recognition that only comes from seeing thousands of doors. That’s what you’re paying for when you pay for a professional. Not effort. Information.
The Six Most Common Garage Door Tasks, Ranked by Risk
Let’s put everything together into a decision framework you can actually use. Here are the six most common garage door tasks in San Antonio, ordered from safest to most dangerous, with a clear verdict for each.
1. Lubrication: Safe DIY
Tools needed: a can of silicone or lithium spray. Time: 15 minutes. Risk: none. You are not releasing, loosening, or adjusting anything. Do this every six months.
2. Photo Eye Sensor Alignment: Safe DIY
Tools needed: a dry cloth and your hands. Time: 5 minutes. Risk: none. Align the sensor until the indicator light goes solid. This fixes the majority of “door won’t close” complaints.
3. Bottom Seal Replacement: DIY with Minor Caveats
Tools needed: a utility knife, a flathead screwdriver, and patience. Time: 30 to 45 minutes. Risk: minimal. The door must be in the open position. Never work under a door that is not secured open. This is a perfectly reasonable DIY project.
4. Opener Remote Reprogramming: Safe DIY
Tools needed: a step stool to reach the motor unit. Time: 10 minutes. Risk: none, provided you are only touching the exterior buttons. Do not open the motor unit housing.
5. Cable Inspection or Replacement: Never DIY
Risk: severe. Cables are under tension whenever the spring is wound. A cable parting during a DIY attempt becomes a whipping steel line. Professional replacement in San Antonio runs $150 to $250 and is done in under an hour. Call for this one.
6. Torsion Spring Adjustment or Replacement: Never DIY
Risk: severe and immediate. This is the task that produces the majority of the 30,000 annual injuries. Stored energy, improvised tools, and unpredictable failure modes make this the line no homeowner should cross. Professional replacement in San Antonio runs $180 to $340 depending on the spring type. A high-cycle spring costs more but lasts three times as long, which matters in this climate.
For a more detailed look at what full replacement involves, see our Garage Door Installation in San Antonio page.
Common Mistakes to Avoid
- Using WD-40 as a lubricant. WD-40 is a water displacement formula, not a lasting lubricant. It strips existing grease and leaves moving parts drier than they were before. Use white lithium or silicone spray.
- Improvising winding bars with screwdrivers or rebar. This is the single most dangerous mistake in garage door repair. The tool bends or slips, the cone snaps back, and the stored energy releases into whatever is in the way. Never do this.
- Pulling the emergency release cord while the door is in the open position. The cord is designed for use during power outages, and only when the door is closed. Pulling it while the door is up drops the door hard and can strip the trolley carriage. That’s the $180 to $240 mistake we described earlier.
- Working under a door that is not secured. Never place yourself under a garage door that is held open only by the opener or by a prop that is not rated for the load. The door weighs 150 to 250 pounds. If the opener releases or the prop fails, you are underneath it.
- Ignoring a visible gap in a torsion spring. A gap between coils means the spring has begun to fail. It will snap, not gradually. If you see a gap, do not continue using the door, and do not attempt to adjust the spring. Call a professional. In San Antonio’s heat, a gap is a five-alarm warning, not a cosmetic issue.
- Assuming all YouTube tutorials apply to your door. San Antonio doors face heat fatigue cycles that aren’t visible in a video filmed in Ohio. A tutorial that shows a spring replacement in a moderate climate does not account for what our heat does to steel fatigue patterns.
When to Call a Professional
Call a professional when the task involves any component that stores energy under tension: torsion springs, extension springs, lift cables, and the bracket assemblies that connect them. Call when the opener requires opening the motor housing, adjusting limit switches, or working with the carriage assembly. Call when you see a visible gap in a spring, hear the door making unusual noises, or notice the door traveling unevenly. Call when a DIY attempt has gone wrong and you need someone to undo the damage. Doyle Garage Doors San Antonio offers free estimates in San Antonio. Call (806) 491-1594 and a real person answers, day or night, weekends and holidays included. We’ll put the price in writing before any work starts, and we’ll tell you the technician’s name and send their photo before they arrive.
Frequently Asked Questions
Most San Antonio garage door repairs cost between $120 and $340 depending on the component. Sensor realignment is typically under $100. Torsion spring replacement runs $180 to $340 depending on whether you choose a standard or high-cycle spring. Opener repair falls in the $120 to $350 range. Every Doyle Garage Doors San Antonio job includes a written price before work begins, so you’ll never face an invoice surprise. Call (806) 491-1594 for an exact quote on your specific door.
No. You should not. The tooling, the stored energy, and the failure mode all make this a professional-only task. A spring under load can release 70 foot-pounds of torque instantly if a winding bar slips. The specific mistake that causes most injuries is substituting screwdrivers or rebar for proper winding bars. Do not attempt this. Professional replacement in San Antonio costs less than the emergency room copay you’re risking.
The most common mistake we see in San Antonio is pulling the emergency release cord while the door is in the open position. It feels harmless. It drops the door hard and strips the trolley carriage, adding $180 to $240 to the eventual repair cost. The second most common is using WD-40 on the rollers and hinges, which strips lubrication and accelerates wear in our already dusty climate.
Every six months, and more often if the door faces west and takes direct afternoon sun. The heat accelerates lubricant breakdown, and our caliche dust acts as an abrasive. Use a silicone or white lithium spray. Apply to rollers, hinges, and the spring coil. Nothing about this task requires a professional.
No. The price is quoted and agreed before any work starts. Not a verbal estimate. A written price. If the technician finds something beyond the original scope, you get a new written price before that work begins. You are never committed to surprise charges. This is the no-hassle upfront pricing commitment we make on every single job in San Antonio.
A real technician, and you’ll know who it is before they arrive. We send the technician’s name and photo in advance. They come in a clean marked uniform and show a photo ID badge at the door. Background-checked and identity-verified under the Threshold Standard, every time. No exceptions. If that feels like basic safety, it is. It’s also the thing most garage door companies in San Antonio don’t do.
The Bottom Line
The DIY-versus-professional question is not one question. It is six questions, one for each common task, and the answer depends on stored energy. Lubrication, sensor alignment, and seal replacement are safe DIY jobs. Spring work and cable work are not, and no amount of YouTube confidence changes the physics. San Antonio adds a twist: our heat cycles fatigue springs in ways that even experienced DIYers can’t assess by sight alone. The financially rational move is to do the safe tasks yourself and hire a professional for the dangerous ones. When you call Doyle Garage Doors San Antonio at (806) 491-1594, you get a written price before work starts, a name and photo before the tech arrives, and a 365-day written guarantee on every repair. If it’s not done right, we make it right. That’s the promise, in writing, every time.
Written by Aaron Teague, Owner at Doyle Garage Doors San Antonio, serving San Antonio since 2001.
See the difference
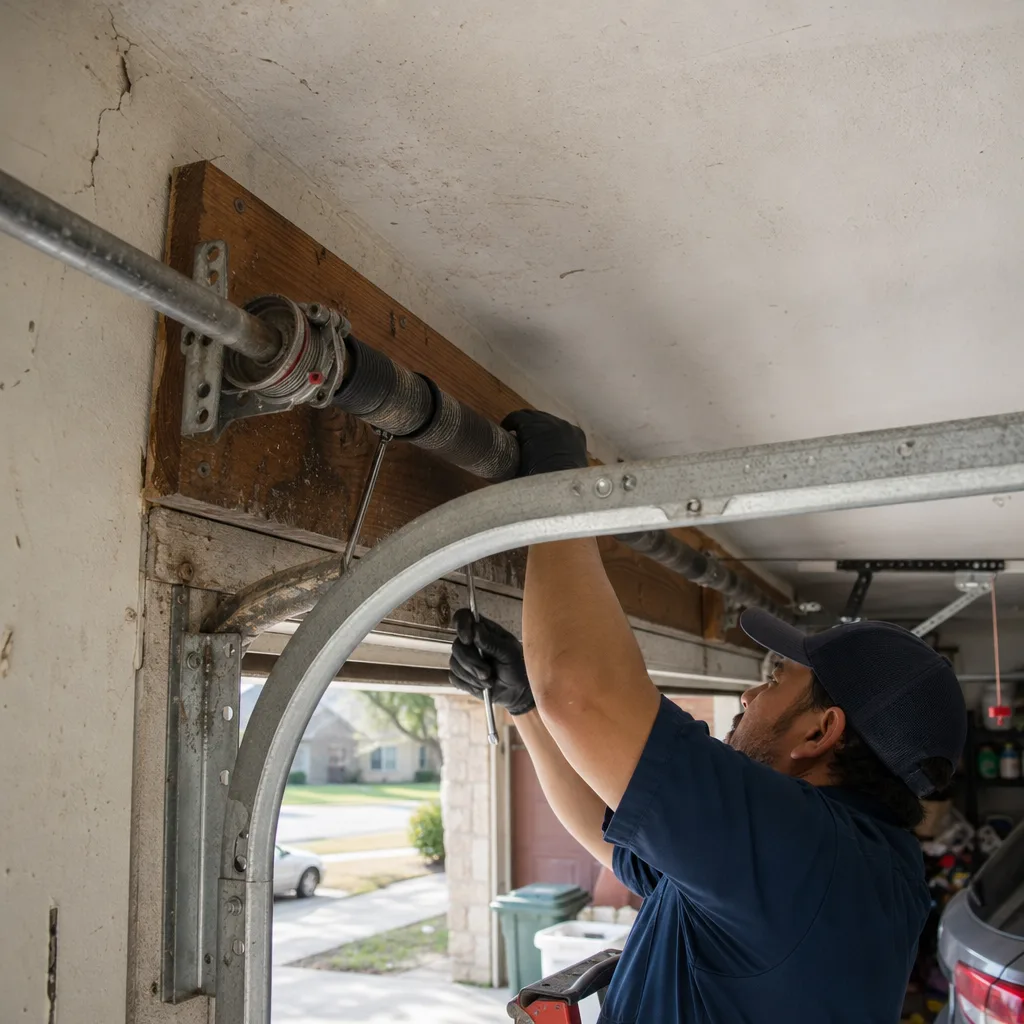 Before
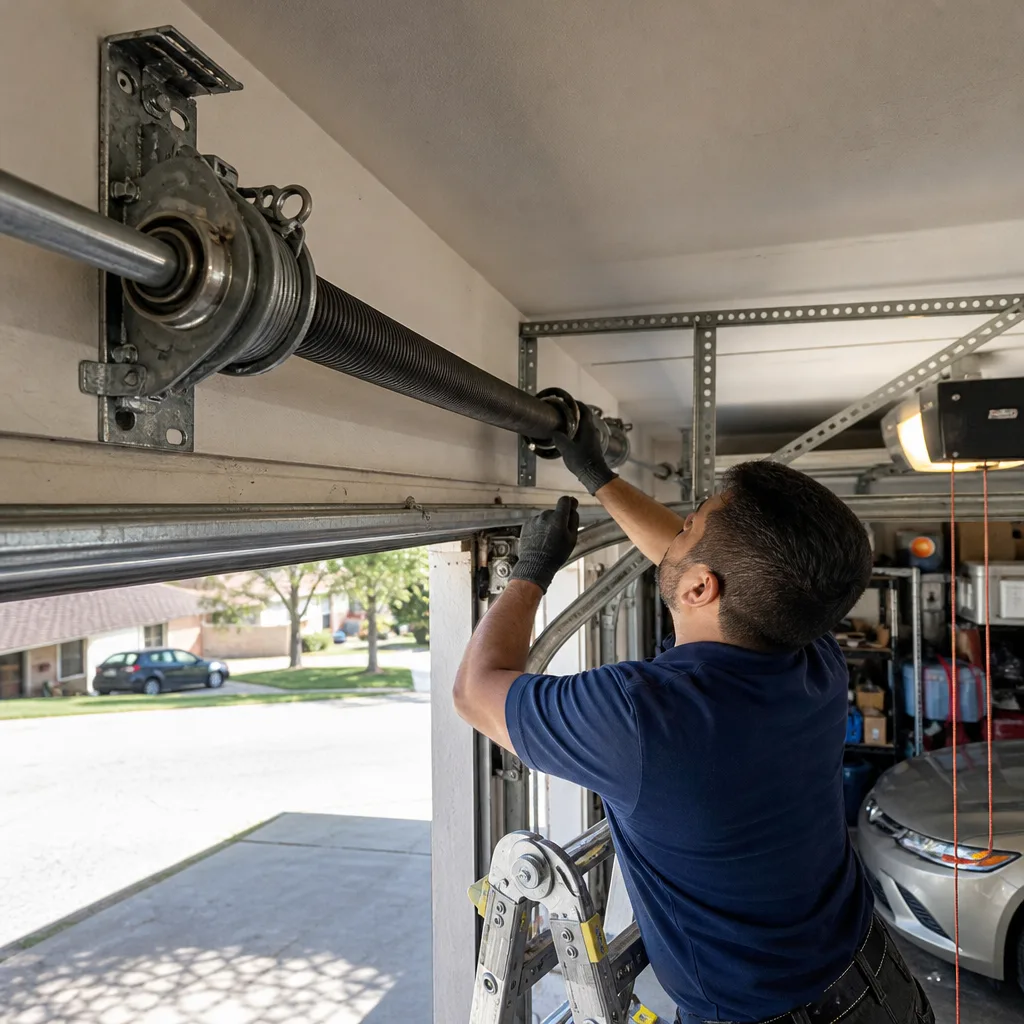 After
After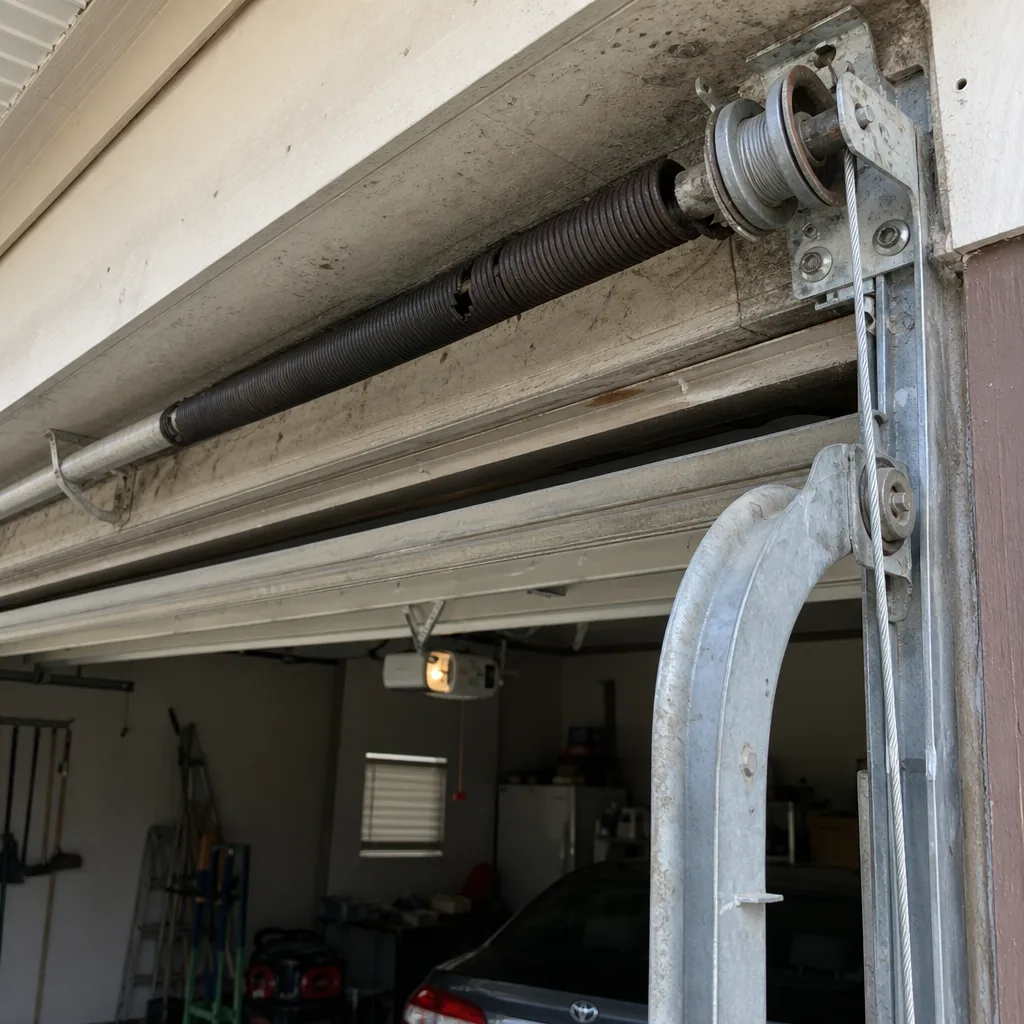 Before
 After
After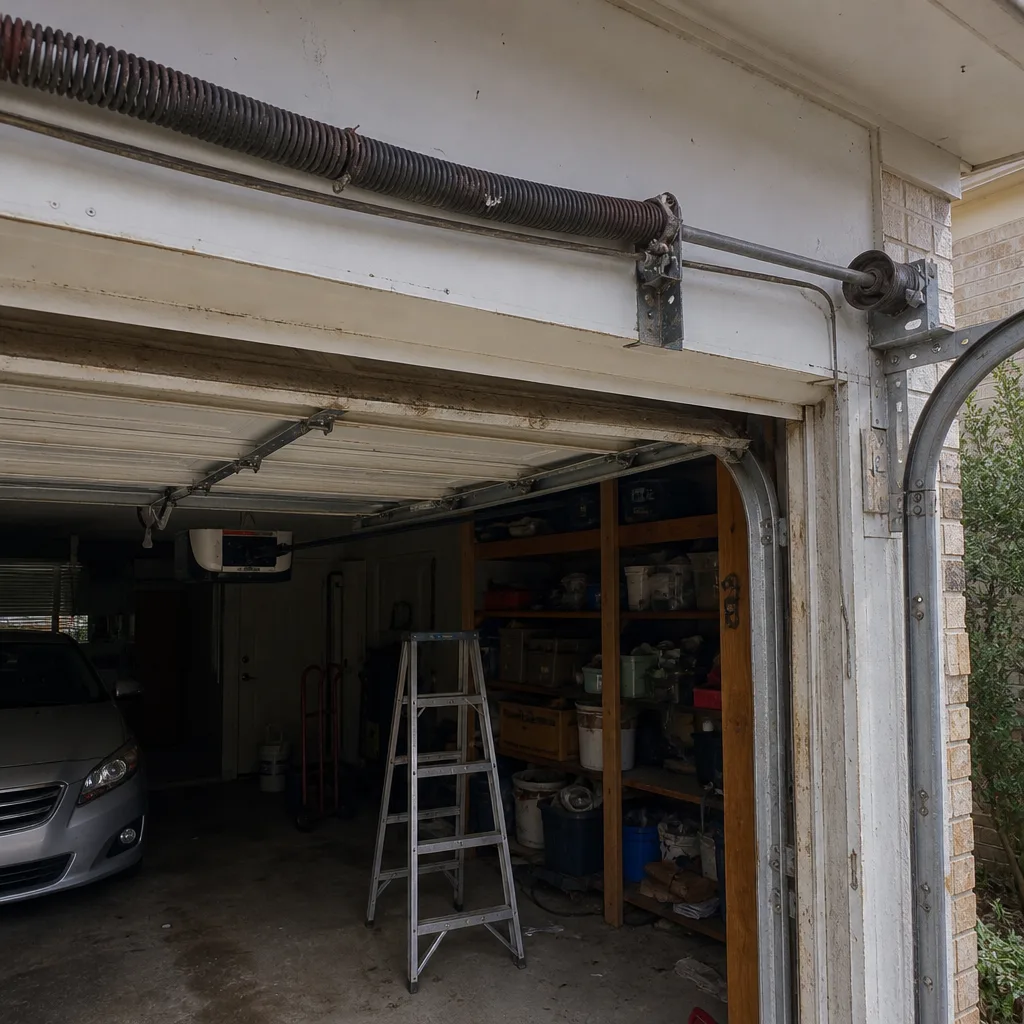 Before
 After
After