
Last updated October 16, 2026
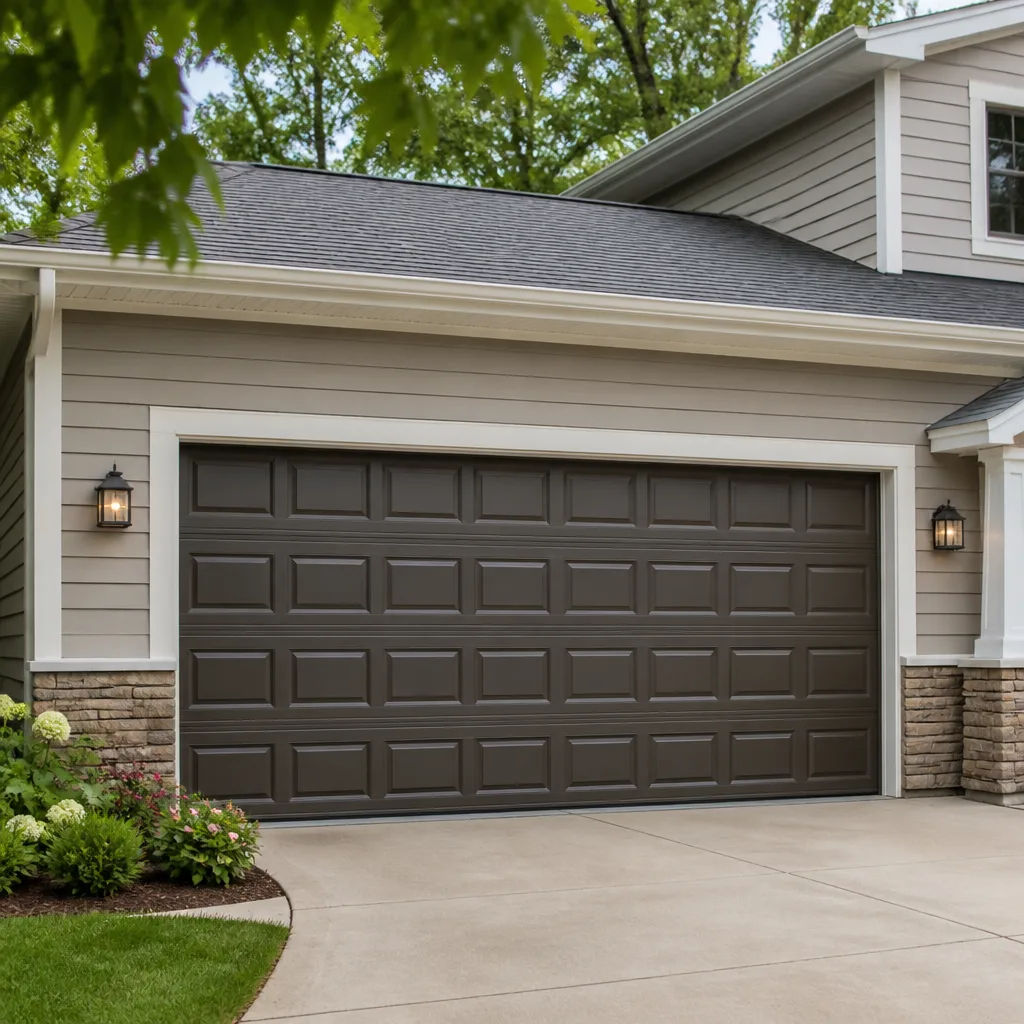 Raised-panel steel
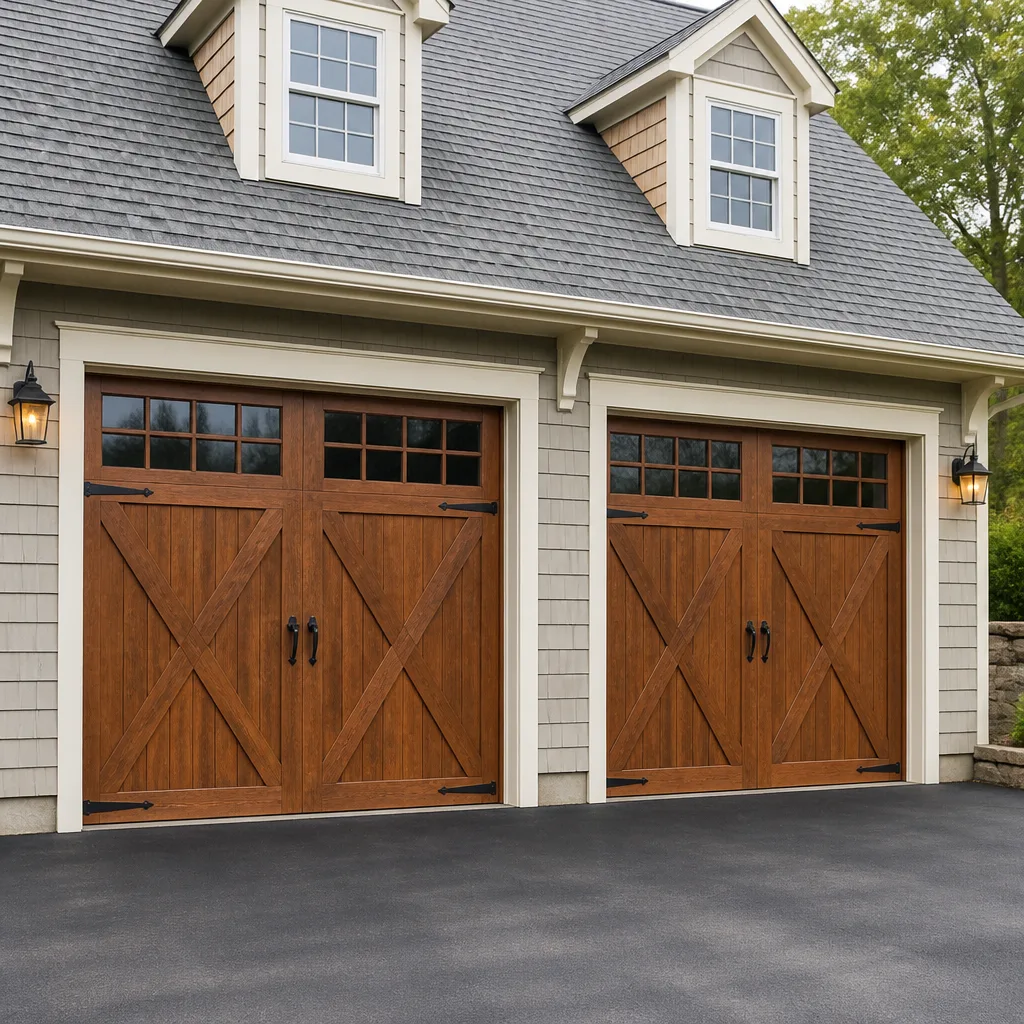 Carriage house
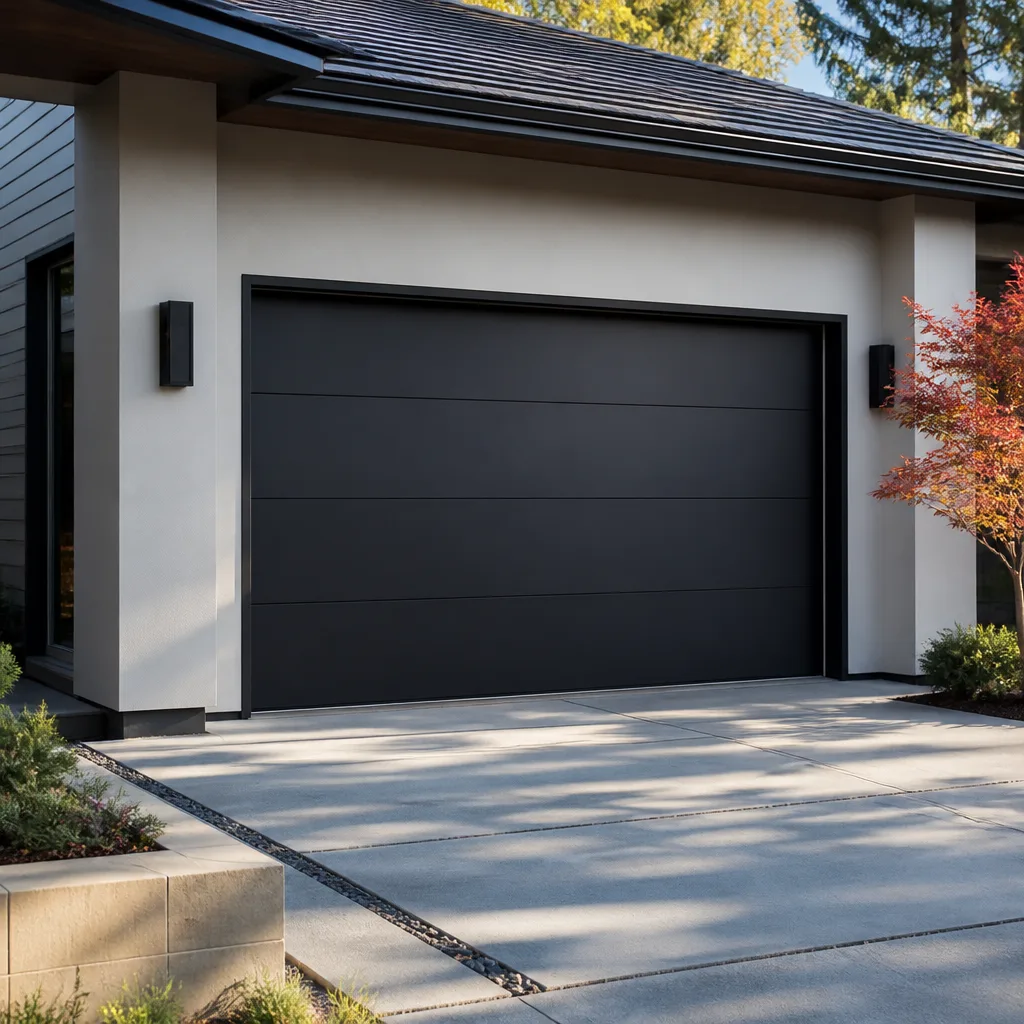 Modern flush
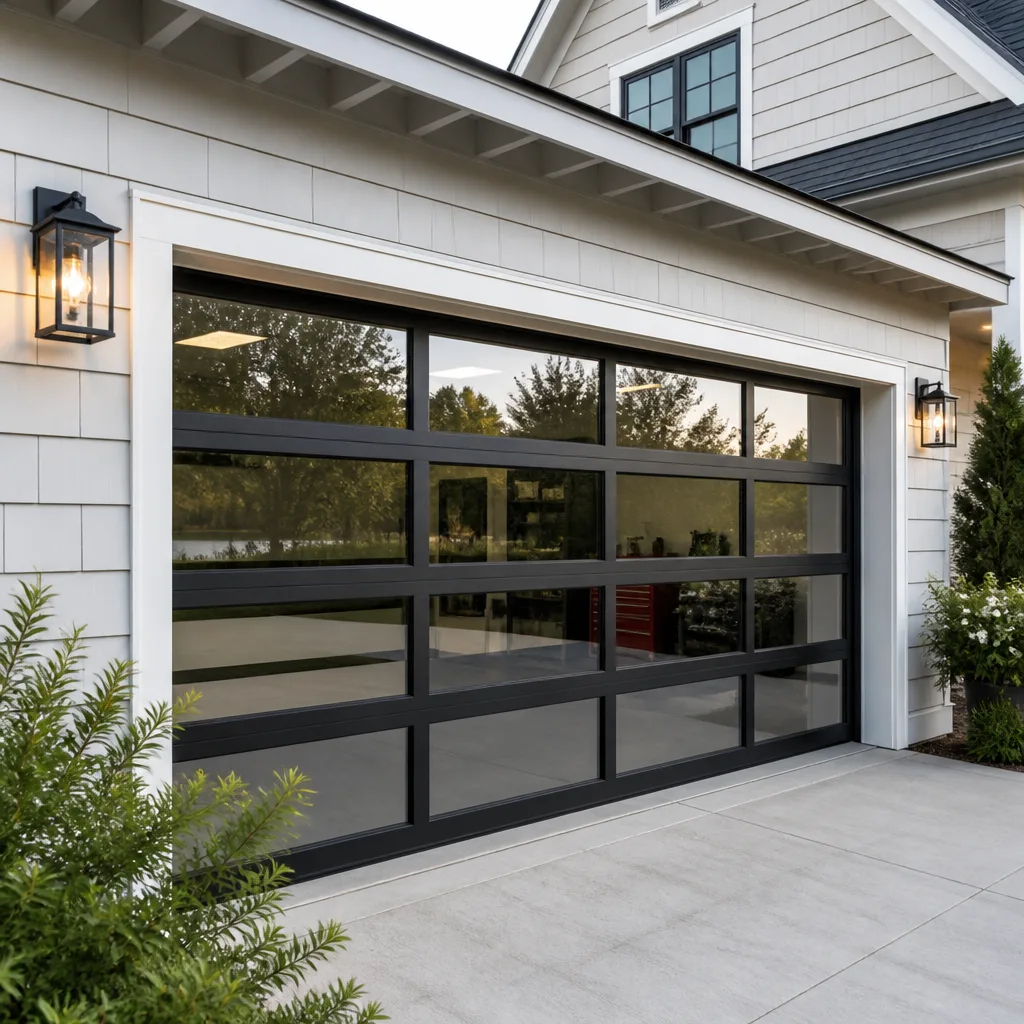 Full-view glass
 LiftMaster openers
 Chamberlain openers
Full 25-point door and opener safety check with every visit - springs, cables, rollers, tracks, and your LiftMaster or Chamberlain opener included
You get a price before we start. It does not change when the truck arrives.
Get your free estimateSeasonal Garage Door Care for San Antonio: Year-Round Homeowner’s Guide
During Winter Storm Uri in February 2021, garage door torsion springs snapped across San Antonio at a rate that local repair shops still talk about. It wasn’t just the cold. Those springs had spent the previous eight months cycling through 100°F-plus heat, losing temper and developing micro-fractures that were there all along, waiting for the temperature to drop. This guide is built around that reality: San Antonio doesn’t have four seasons, and treating your garage door like it does is how you end up with a snapped spring at midnight in a freeze. For a deeper dive, see The Complete Guide to Garage Door in San Antonio. We’ll walk through the heat stress of summer, the critical October inspection window, the February freeze protocol, and the pollen problem that hits every March and April.
Styles & brands we work with
Quick Answer
Seasonal garage door care in San Antonio means doing one thorough inspection in October, checking your summer heat damage before it becomes winter breakage, plus three lighter checks in spring, summer, and winter. The single most important maintenance moment is late October, when you can see summer stress in the panels and hardware but before cold weather makes weakened parts brittle. Budget 20 minutes in October, 10 minutes in March, and a quick monthly visual scan throughout the year.
Table of Contents
- Why San Antonio Weather Is Different (And Why Generic Guides Fail)
- The October Inspection Window: Your Best Maintenance Moment
- Torsion Spring Assessment: The Quarter-Turn Rule and Coil-Spacing Check
- Summer Seal Care: Bottom Seals, Astragal Materials, and UV Exposure
- The February Freeze Protocol: What To Do When Your Door Is Frozen to the Ground
- Spring Pollen and Limestone Dust: Clearing Tracks, Hinges, and Sensors
- Monthly Maintenance Checklist for San Antonio Homeowners
- Common Mistakes to Avoid
- When to Call a Professional
- Frequently Asked Questions
- The Bottom Line
Why San Antonio Weather Is Different (And Why Generic Guides Fail)
San Antonio’s climate operates on a binary: long hot season, short shoulder season. From May through October, daytime highs regularly sit in the mid-90s to low-100s, and the garage itself becomes a heat chamber, often running 15 to 25 degrees hotter than the outside air. A dark-colored steel door in full afternoon sun can reach surface temperatures above 150°F. That sustained heat does specific, predictable things to garage door components, and those things are not what most seasonal maintenance guides address.
Then there’s the temperature swing problem. San Antonio routinely sees 40-degree swings within 24 hours during the shoulder months of October-November and February-March. Metal expands and contracts with each swing. Over a single season, that’s thousands of expansion-contraction cycles on your torsion spring, bow in the panel, and hardware connections. The result: parts develop stress fatigue that doesn’t show up as an obvious problem until a cold snap or a heat spike pushes them past failure. If you’re relying on a guide that says “lube the springs in spring and check the weatherstripping in fall,” you’re missing the specific mechanical reality of what San Antonio weather does to a garage door.
Here’s what actually happens here, season by season:
- May through October: Heat cycling stresses torsion springs, bakes the grease out of rollers and hinges, warps panels, and cracks rubber seals. This is the season that causes the most long-term damage.
- October to November: The brief window where damage from summer is visible, but cold brittleness hasn’t set in yet. This is your repair window.
- December through February: Cold snaps make already-weakened springs snap, freeze doors to the ground, and expose every shortcut taken during the heat season. This is when repairs are most urgent and most disruptive.
- March through April: Pollen, oak catkins, and limestone dust from dry spring winds clog tracks and sensor lenses. This is when doors start binding, reversing, and making grinding noises.
Understanding this cycle is the foundation for everything else in this guide. We’re going to work through it in order of importance, not in calendar order, because the October window is where you prevent most of the problems that hit in February.
The October Inspection Window: Your Best Maintenance Moment
The October inspection window in San Antonio typically runs from mid-October to mid-November, after the last 100-degree day but before the first hard cold front. During this window, the summer’s damage is visible but not yet compounded by cold-weather brittleness. A torsion spring that’s lost tension from heat cycling will show it in the coil spacing. A panel that’s warped from September heat will be visibly bowed. A bottom seal that’s cracked from UV exposure will show the splits clearly. In January, none of these are as easy to spot, and a weakened spring may fail outright on the first cold morning before you ever get a chance to look at it.
Here’s your October inspection checklist, in order of importance:
- Visual spring inspection: With the door closed, look at the torsion spring mounted above the door opening. Check for gaps between coils, rust, or any coils that appear to be separating. More detail on this below.
- Door balance test: Pull the emergency release cord (usually a red handle hanging from the opener rail) and manually lift the door to about waist height. A properly balanced door will stay at that height on its own. If it drops or springs up, the spring is either under- or over-tensioned, and that’s a repair signal.
- Bottom seal check: Look at the rubber strip along the bottom of the door. Look for cracking, splitting, curling, or gaps where the seal meets the floor. Texas sun and heat destroy these seals faster than most homeowners expect.
- Track and roller inspection: Look at both vertical and horizontal tracks for bends, rust, or debris. Check each roller for flat spots, wobble, or visible wear on the wheel surface.
- Hardware check: Inspect the bolts, brackets, and fasteners where the track mounts to the wall and where the door panels connect to each other. Grab the track at shoulder height and try to wiggle it. Any movement means loose fasteners.
- Opener force test: With the door open and the opener connected, place a 2×4 flat on the ground under the door path and close the door onto it. The door should reverse within a second or two of contacting the wood. If it doesn’t, the opener’s down-force setting needs adjustment, and this is a safety issue you’ll want addressed.
The October inspection is not the time to DIY a repair. It’s the time to identify problems ahead of the failure. When we see a spring that’s showing end-of-life signs in October, replacing it in October costs the same as replacing it in February, but in February you’re also dealing with a cold garage, potentially a car stuck inside, and the urgency pricing that comes with emergency calls during a freeze event. Doing the inspection at the right time is how you avoid the winter scramble.
Torsion Spring Assessment: The Quarter-Turn Rule and Coil-Spacing Check
A torsion spring is the large coil mounted horizontally above the door opening that does most of the lifting work. When that part fails, it fails loudly, usually with a sound like a gunshot, and the door becomes extremely heavy, which is dangerous. The good news: torsion springs almost never fail without warning. The warning signs are visible months in advance, if you know what to look for.
Here’s the coil-spacing check, which any homeowner can do safely from the ground with the door closed:
- Stand inside the garage, a few feet back from the closed door, and look up at the torsion spring. Do not touch it.
- Examine the gaps between the coils along the entire length of the spring. On a healthy spring, these gaps are uniform. Every coil should be the same distance from its neighbor, all the way from one end cone to the other.
- Look specifically at the middle third of the spring, where most of the fatigue happens. If you see two coils touching, or a gap that’s noticeably wider than the rest, that’s a red flag. A gap that opens up means the spring has lost tension in that section. Coils touching usually means internal stress has shifted and the spring is twisting beyond its design.
- Look for rust. A light surface dusting of rust is cosmetic. Flaking rust that’s gone deep into the metal, or rust that follows a crack line, is structural.
The quarter-turn rule is the professional standard for assessing whether a spring needs to be re-tensioned or replaced. When a garage door professional installs or services a torsion spring, they wind the spring by turning it a specific number of quarter-turns, typically around 30 to 36 quarter-turns for a standard 7-foot door, depending on the spring’s wire size and inside diameter. You can’t safely replicate that winding process as a homeowner, and you should not try. What you can do is observe what the spring’s tension is doing by testing the door’s balance, which we described in the October checklist above.
If the door is heavy to lift manually, drops when you try to hold it at waist height, or slams shut on its own, the spring has lost tension. In our experience across San Antonio, heat-cycled springs from homes in Stone Oak, Alamo Heights, and Castle Hills fail in predictable patterns: the spring loses tension gradually through the summer, and by October or November, the door is noticeably heavier than it was in May. If you notice that change, don’t wait. A spring that’s lost enough tension to make the door heavy is a spring that’s close to snapping.
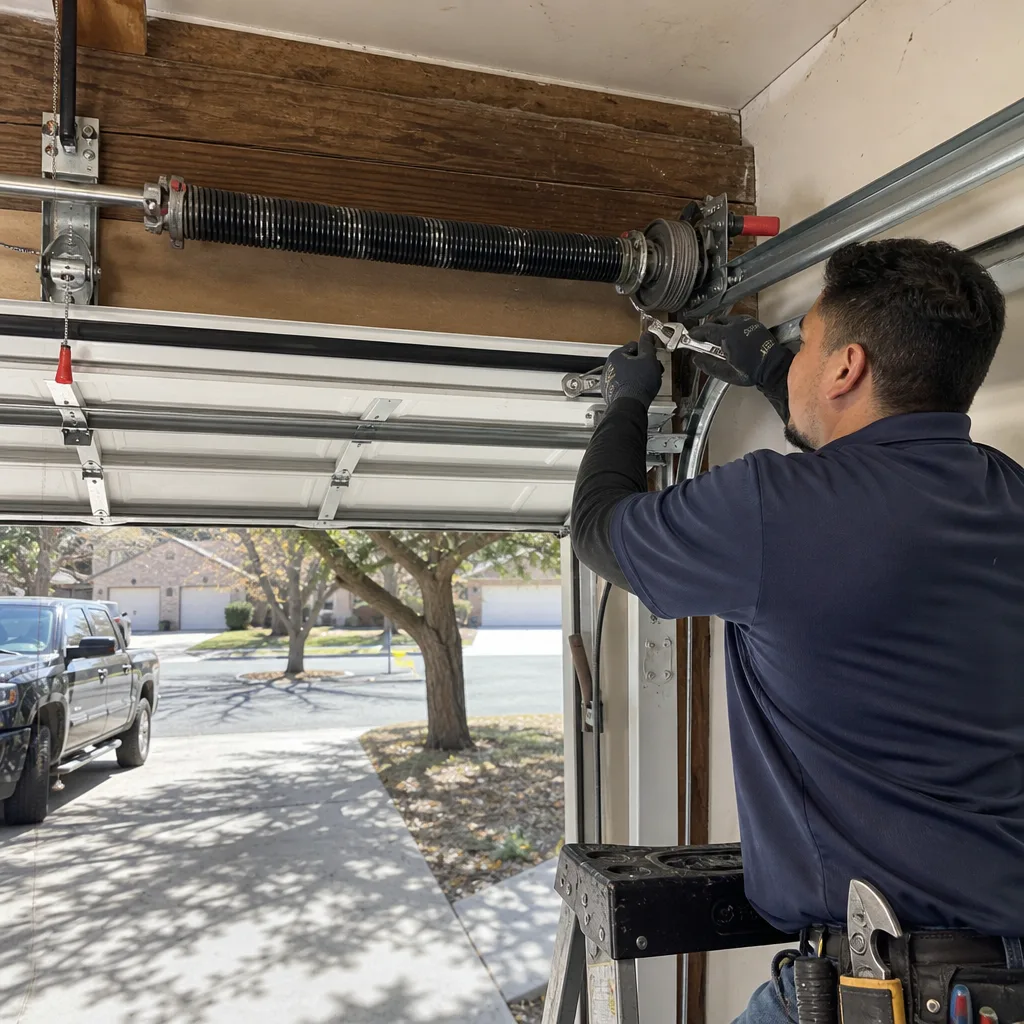
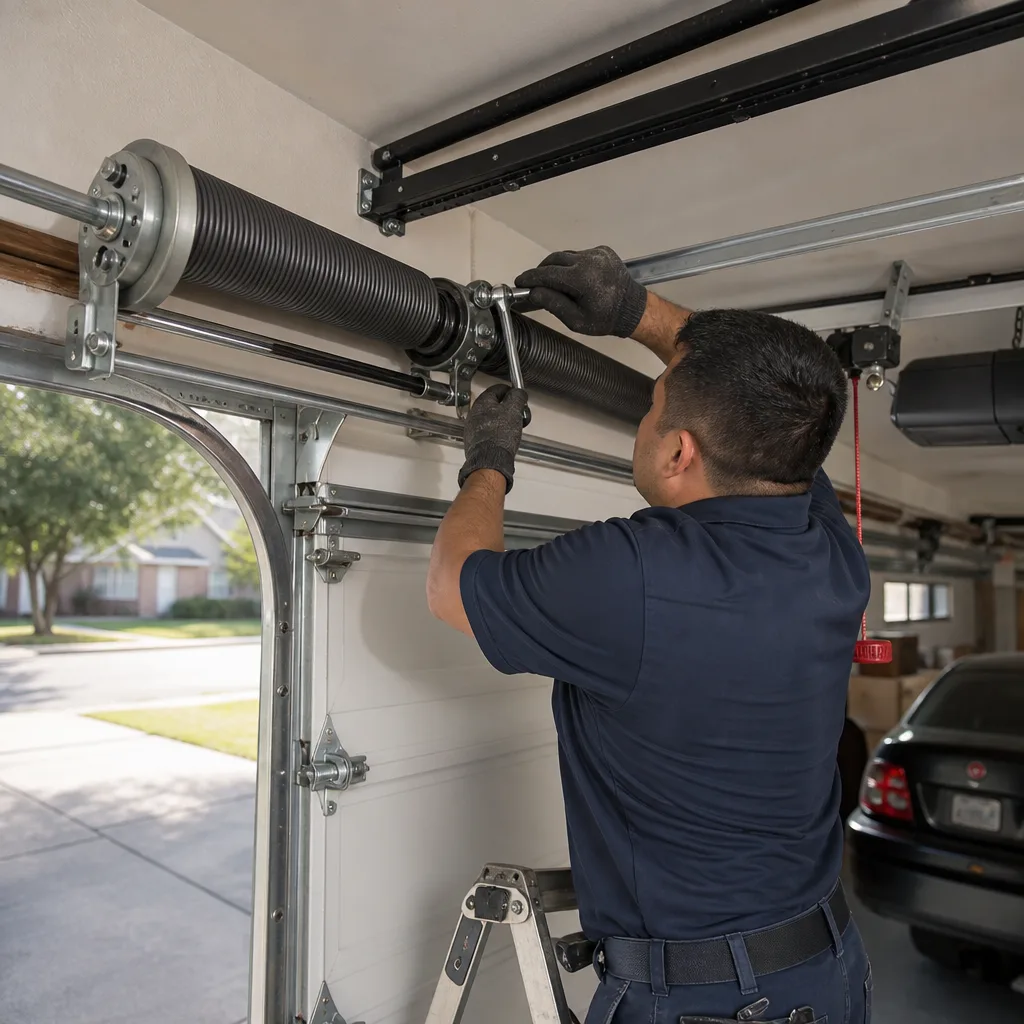
Safety note: A torsion spring under tension stores enough energy to cause serious injury or death if it releases while you’re near it. The inspection steps above are safe from the ground with the door closed and without touching the spring. Do not attempt to adjust, re-wind, or replace a torsion spring yourself. This is one of the few garage door tasks that professional technicians treat as genuinely dangerous, and for good reason.
Summer Seal Care: Bottom Seals, Astragal Materials, and UV Exposure
The bottom seal on your garage door, technically called an astragal, is the rubber or vinyl strip that runs along the bottom edge of the door and presses against the concrete floor when the door is closed. In San Antonio, these fail faster than almost any other garage door component, and the failure mode is specific to our climate: sustained UV exposure plus 100°F-plus surface heat bakes the material until it cracks, curls, and loses its ability to flex and seal.
Standard EPDM rubber astragals are rated for moderate climates, and in San Antonio they typically show visible cracking at the 18-to-24-month mark. Once cracking starts, the seal loses its contact with the floor in the cracked areas, which lets in dust, leaves, pests, and most importantly, heat. A 1/8-inch gap at the bottom of a garage door is enough to let in meaningful airflow, and during the summer months, that gap is letting cooled air out and 110-degree air in, if you’ve got a conditioned or semi-conditioned garage.
What you want for San Antonio is either a heavy-duty vinyl astragal or a silicone-based material. These are rated for sustained UV exposure and hold their flexibility much longer than standard rubber. Brands like Clopay and Amarr both offer Texas-rated bottom seals on their door lines, and most garage door supply shops in San Antonio stock the heavier vinyl options for exactly this reason. When we replace a bottom seal in San Antonio, we’re typically seeing 2 to 5 years from the standard rubber and 5 to 8 years from the commercial-grade vinyl, assuming the door face gets afternoon sun.
How to check your seal: With the door closed on a bright day, stand inside the garage and look along the bottom edge of the door from the inside. If you can see daylight between the seal and the floor anywhere, the seal is not doing its job. Then go outside and run your hand along the bottom of the seal when the door is open. If it feels stiff, cracked, or has a crunchy texture when you flex it, replacement is overdue. These checks take less than a minute and are worth doing monthly during the summer.
The February Freeze Protocol: What To Do When Your Door Is Frozen to the Ground
When a hard freeze hits San Antonio, usually in late January or February, the most common garage door problem is not a snapped spring, it’s a door frozen to the concrete floor. Water pools in the low spots of the garage slab, freezes overnight, and bonds the bottom seal to the concrete. The opener strains, the door flexes, and if the force is high enough, the door either tears its own seal or something more expensive gives way.
Here’s the freeze protocol, in order of what to do:
- Do not yank the emergency release cord. The emergency release disconnects the door from the opener’s trolley carriage, the moving part that travels along the opener rail. If the door is frozen to the ground and you pull the release, the carriage is no longer connected to the door, and when you press the opener button, the carriage travels along the rail with nothing attached to it. When it reaches its limit, it usually strips the plastic gears inside the opener or damages the carriage itself. This is one of the most common freeze-related repairs we see in San Antonio, and it’s entirely preventable.
- Do not force the door up manually. The door is frozen at the bottom, and forcing it puts the entire force of your pull into the bottom panel, the hinges connecting it to the next panel, and the bottom seal itself. Bent bottom panels are a common freeze outcome, and a new bottom panel often costs more than a seal replacement.
- Check the freeze point. With the opener still connected, visually check where the door meets the floor on both sides. You’ll usually see ice forming either along the bottom seal or at the points where water pooled and froze against the concrete.
- Apply warm, not hot, water. Pour warm tap water along the bottom edge of the door where it meets the floor. Don’t use hot water, and don’t use any kind of de-icing chemical, both of which can damage the seal material and the door’s finish. Work in sections, and give the water a minute to melt the bond before applying more.
- Once free, run the door. After the door is free, run it through a full open-close cycle and watch for anything unusual: wobble, grinding, hesitation. If anything seems off, note it and schedule an inspection. Freeze events reveal pre-existing problems, they rarely create entirely new ones, except in the cases of frozen doors that were forced open.
The best defense against a frozen door is a seal that actually contacts the floor evenly. If water can’t pool under the door and freeze, the door can’t freeze to the ground. This is another reason the October inspection matters: catching a worn seal in October means you’ve repaired the problem before the freeze event, not during it.
Spring Pollen and Limestone Dust: Clearing Tracks, Hinges, and Sensors
Every March and April in San Antonio, the air fills with oak pollen, elm pollen, and, in the drier years, limestone dust from the Hill Country. By May, any garage door that hasn’t had its tracks and sensors cleaned is running through a layer of grit that accelerates wear on every moving part.
Here’s what to address during the pollen season, and why it matters:
- Photo-eye sensors: These are the small units mounted on each side of the door opening, about 6 inches off the floor. They send an invisible beam across the opening, and if that beam is interrupted, the door won’t close, or it reverses mid-cycle. Pollen and dust build up on the sensor lenses and can make them erratic, causing doors that reverse for no apparent reason or refuse to close at all. Clean the lenses with a dry microfiber cloth. Do not use water or glass cleaner, which can leave residue and make the sensor worse.
- Vertical track interiors: The rollers travel inside the track, and the track interior is where pollen, dust, and oil combine into a gummy paste that increases rolling resistance. If your door has started sounding rough or grinding in March or April, the track interiors are the most likely culprit. A dry rag, followed by a light application of garage-door-specific lubricant on the roller bearings only, is the standard fix. Do not grease the track itself, which traps more grit.
- Hinges between panels: Each panel is connected to the next by hinges along the sides. The hinge pins collect dust and pollen, and as those hinges get dry and gritty, the door’s articulation gets stiff and the panels start to bind. A few drops of lubricant on each hinge pin, done twice a year, will make a noticeable difference in how smoothly the door runs.
- Opener rail and trolley carriage: The trolley carriage is the part that slides along the opener rail and carries the door connection. Pollen and dust accumulate on the rail and get pushed into the carriage mechanism. Clean the rail with a dry cloth and avoid lubricating it unless you’re using the specific lubricant recommended by your opener’s manufacturer, like the spray sold by Chamberlain or Genie for their opener rails.
This is also the time of year when the garage door gets used more, as the weather transitions and people move between indoor and outdoor living. More cycles plus more grit equals more wear. Ten minutes of cleaning in March is the cheapest maintenance you can do on a garage door in San Antonio.
Monthly Maintenance Checklist for San Antonio Homeowners
Here’s the baseline monthly routine we recommend for San Antonio homeowners, adjusted for our climate and the specific wear patterns we see year after year. This is a 5-minute visual scan, not a tool-intensive project.
- Look at the door when it’s closed. Check for visible bowing, warping, or panel separation, especially on west- and south-facing doors that take direct afternoon sun. Bowing shows up first on the panel that’s in the sun the longest.
- Listen to the door open and close. A healthy garage door is relatively quiet. Grinding, squealing, popping, or a rhythmic thunking sound that follows the door’s movement are all signals that something specific needs attention.
- Watch the door through a full cycle. It should move smoothly, without hesitation, jerking, or shaking. If one side rises before the other, or the door shudders at a specific point, note it.
- Check the photo-eye sensor alignment. The small lights on the sensors should be solid. If one is blinking or out, the sensors are misaligned or dirty. This is the most common cause of a door that won’t close in San Antonio, and it’s usually a 30-second fix with a cloth and a gentle nudge.
- Test the auto-reverse. The same 2×4 test from the October checklist is worth doing every month. This is a safety feature, not a convenience feature, and a door that won’t reverse on contact is dangerous, especially in homes with children or pets.
If you do this monthly scan and the October deep-dive, you’ll catch most garage door problems before they become failures. That’s the entire strategy: regular observation, targeted seasonal care, and early intervention. We built this guide around that approach because it’s what actually works for homes in San Antonio, and it’s the same approach we use when we’re assessing a door we’ve been asked to inspect.
Common Mistakes to Avoid
After years of servicing doors across San Antonio, from newer developments on the far West Side to older homes in Terrell Hills and Beacon Hill, we’ve seen the same mistakes repeated consistently. Here are the ones that cost homeowners the most money:
- Ignoring a noisy door. A garage door that’s started making new noises is communicating a specific problem, and in San Antonio’s heat, those problems accelerate quickly. A dry roller that’s grinding in July becomes a failed bearing by September. Addressing the noise when it starts costs less than addressing the failure it causes.
- Over-lubricating with the wrong product. WD-40 is a solvent, not a long-term lubricant, and grease applied to tracks, which a lot of well-meaning homeowners do, turns tracks into dust magnets in San Antonio’s dry season. Use garage-door-specific lubricant on moving parts only, which means hinges, roller bearings, and spring coils, and keep it off the tracks and off the photo-eye lenses.
- Pulling the emergency release during a freeze. We covered this above, but it bears repeating because it’s the single most common freeze-related damage we repair. Disconnecting the door from the trolley carriage when the door is frozen to the ground creates a new problem that didn’t exist before.
- Replacing the bottom seal with the cheapest option available. The big-box store seals are typically standard EPDM rubber, which starts cracking in San Antonio sun within two years. Paying a few dollars more for heavy-duty vinyl rated for UV exposure will actually save money over the life of the seal.
- Adjusting the opener force settings to compensate for a heavy door. When a spring loses tension, the door gets heavier, and the opener strains to lift it. Some homeowners respond by increasing the force settings on the opener, which makes the opener work harder and wear out faster, and it can also disable the auto-reverse, which is a serious safety hazard. If your door is heavy, fix the spring. Do not push the opener past its design limits.
- Waiting until the door fails to schedule a service. Every major garage door failure we see in San Antonio was preceded by weeks or months of visible, audible warning signs. The October inspection window exists because the problems are most visible then. Use it.
When to Call a Professional
Some garage door work is genuinely dangerous, and some of it is just difficult to do correctly without the specific tools and training that the trade requires. Torsion spring replacement is always a professional job. The spring carries the door’s weight under high tension, and an incorrect release can cause serious injury. Opener replacement, track realignment, and panel replacement are also jobs where the margin for error is small and the cost of a mistake is high.
If your October inspection has turned up a spring showing end-of-life signs, a door that won’t balance, or a seal that’s failed, the smart move is to call someone who does this work every day. Doyle Garage Doors San Antonio offers free estimates in San Antonio, and our techs will tell you what’s wrong, what it costs, and what can wait, before any work starts. Call (806) 491-1594 to schedule a seasonal inspection or a specific repair.
If you’re not sure whether a repair is urgent, call us anyway. We’re garage door repair in San Antonio specialists, and a conversation costs you nothing. A live person answers the phone 24/7, including weekends and holidays.
Frequently Asked Questions
Once a year, in October, and that’s driven by the specific climate pattern of San Antonio, where summer heat causes most of the long-term damage and the damage is most visible before the first cold front. If your door is older than 10 years or you use it heavily, twice a year is better, with the second check in March, after the winter freeze season and before summer heat returns. Call (806) 491-1594 to schedule a seasonal inspection.
Do the October inspection and act on what you find. Specifically, have your torsion spring assessed by a professional during that October window. In San Antonio, heat-weakened springs are the most common major failure, and they fail most often during the first hard freeze of winter. A spring that’s caught in October can be replaced on your schedule. A spring that fails in February gets replaced on the weather’s schedule. Doyle Garage Doors San Antonio performs these assessments as part of our standard service.
That bang is usually the door breaking free from ice that’s formed between the bottom seal and the concrete floor, or it’s the torsion spring releasing built-up stress from the cold. If it’s the former, review the freeze protocol above and check your bottom seal for damage. If it’s the latter, or you’re not sure, get the spring inspected. A loud bang is one of the most common pre-failure sounds we hear described in San Antonio homes, and it’s always worth a professional look.
No. Torsion springs are under extreme tension and they store enough energy to cause serious injury or death if they release unexpectedly. This is one of the few garage door tasks that carries genuine, documented risk, and we recommend a trained professional even for homeowners who are comfortable with other types of home repair. A trained technician has the winding bars, the specific knowledge of spring wire size and turn count, and the experience to release and re-apply that tension safely.
Torsion spring replacement in San Antonio typically runs between $180 and $340 for a standard residential door, including the spring and the labor. For a full breakdown of what drives these numbers, see our Garage Door Cost Breakdown: The San Antonio Homeowner’s Reference for 2026. Extension spring systems, which are less common but still present on some older San Antonio homes, generally run between $120 and $220. The exact price depends on the door’s weight, the spring’s wire size, and whether you have one spring or two. Doyle Garage Doors San Antonio provides a written price before any work starts, so you’ll know the exact cost before a single bolt is turned. Call (806) 491-1594 for an exact quote.
First, check the photo-eye sensors on both sides of the opening. If the small indicator light is blinking on either unit, clean the lens with a dry cloth and make sure the sensors are pointed at each other. In San Antonio, pollen and dust accumulation on sensor lenses is the most common cause of this problem, especially in March and April. If the sensors are clean and aligned and the door still won’t close, check for debris in the track, and if that doesn’t resolve it, call (806) 491-1594. Our garage door opener repair in San Antonio service handles sensor, limit switch, and trolley carriage issues on all major brands, including Chamberlain, Genie, and LiftMaster.
The Bottom Line
San Antonio’s garage door problems follow a pattern, and once you understand the pattern, you can stay ahead of it. Heat stress from May through October causes most of the long-term damage. The October inspection window is your best opportunity to catch that damage before winter cold turns it into a failure. A 20-minute visual inspection in October, combined with a 5-minute monthly scan and targeted seasonal care for seals and tracks, will prevent most major garage door failures before they happen. And when something does need professional attention, knowing the typical price range in San Antonio means you’re not making decisions from a position of anxiety. For more guides & resources on keeping your door running year-round, visit our blog. If you’d like us to do the October inspection for you, we’ll send a technician’s name and photo before the visit, put the price in writing before any work begins, and back the repair with our 365-day written guarantee. Call (806) 491-1594 any time, day or night.
For more information on our repair services, see our Doyle Garage Doors San Antonio home page, our Garage Door Repair in San Antonio guide, or our Garage Door Installation in San Antonio page for new door options from Clopay and Amarr.
Written by Aaron Teague, Owner at Doyle Garage Doors San Antonio, serving San Antonio since 2001.
See the difference
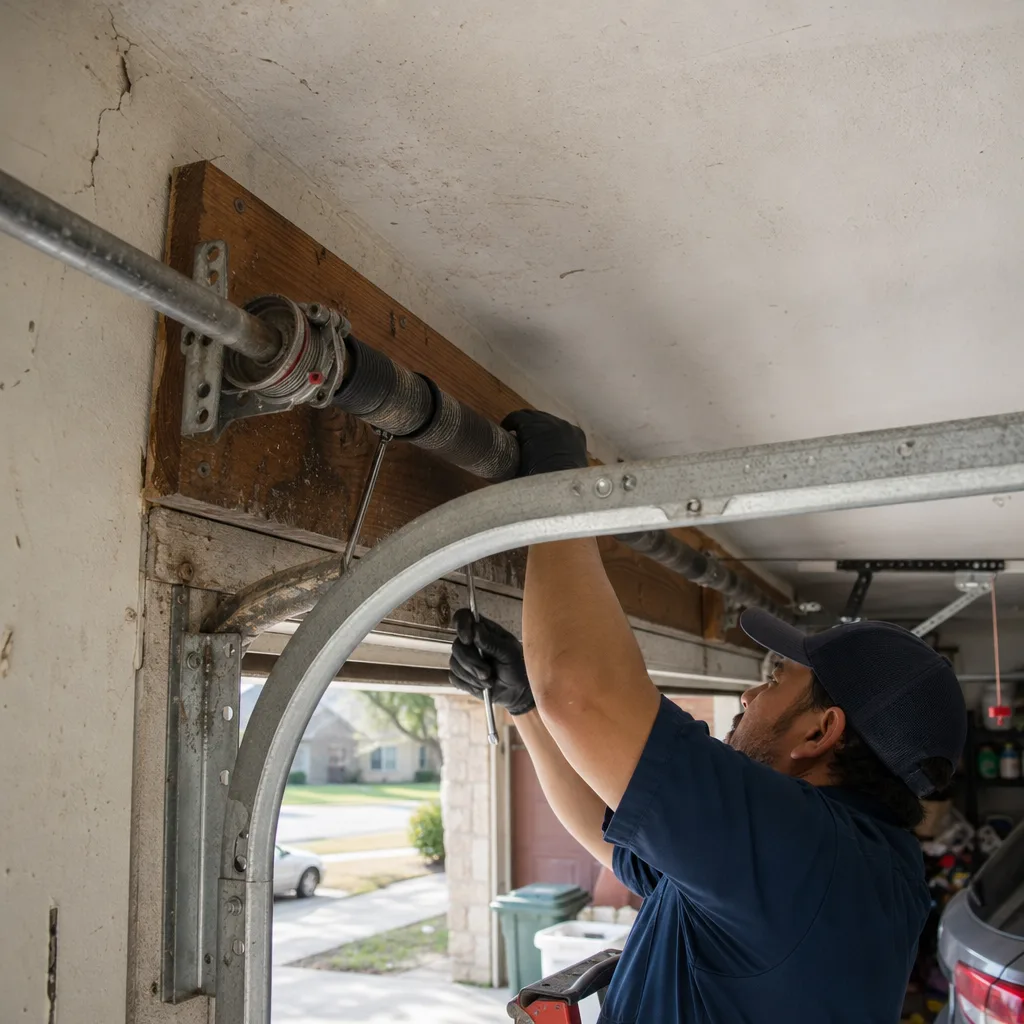 Before
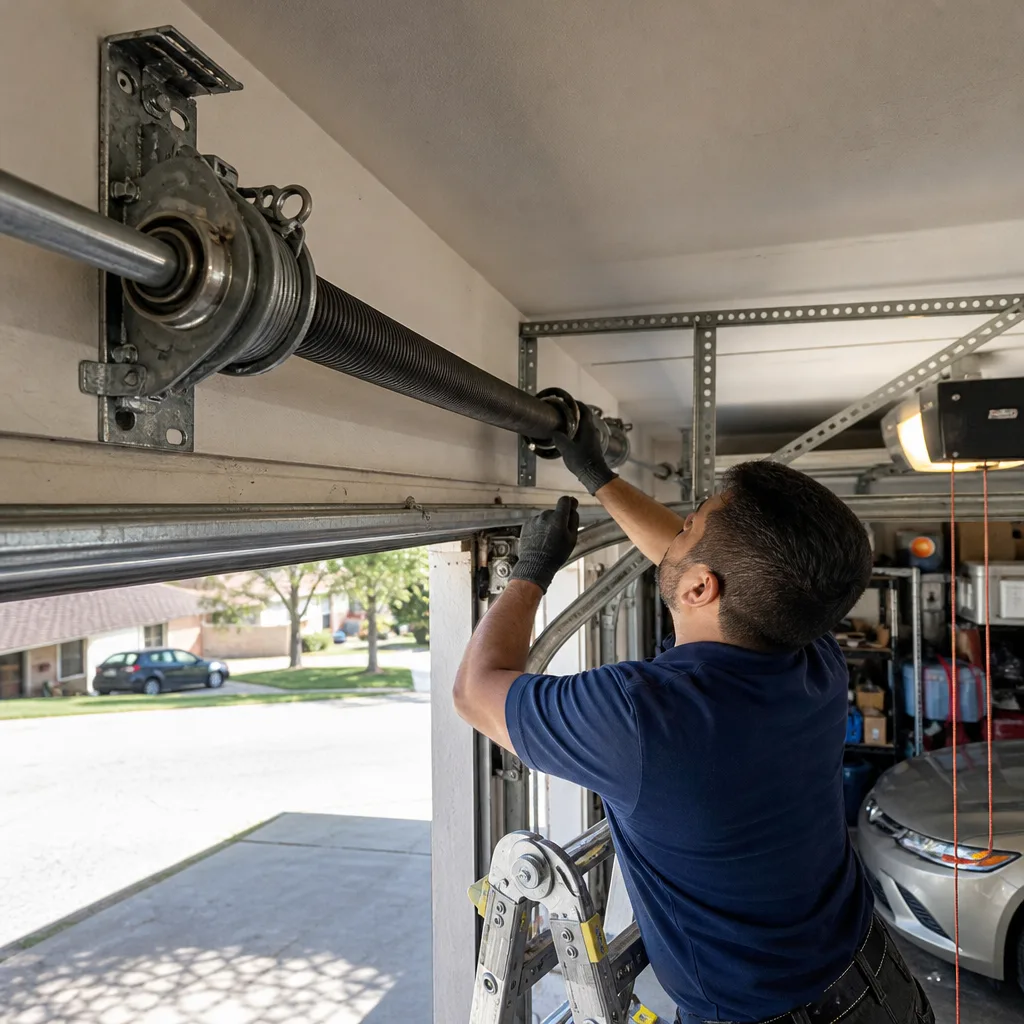 After
After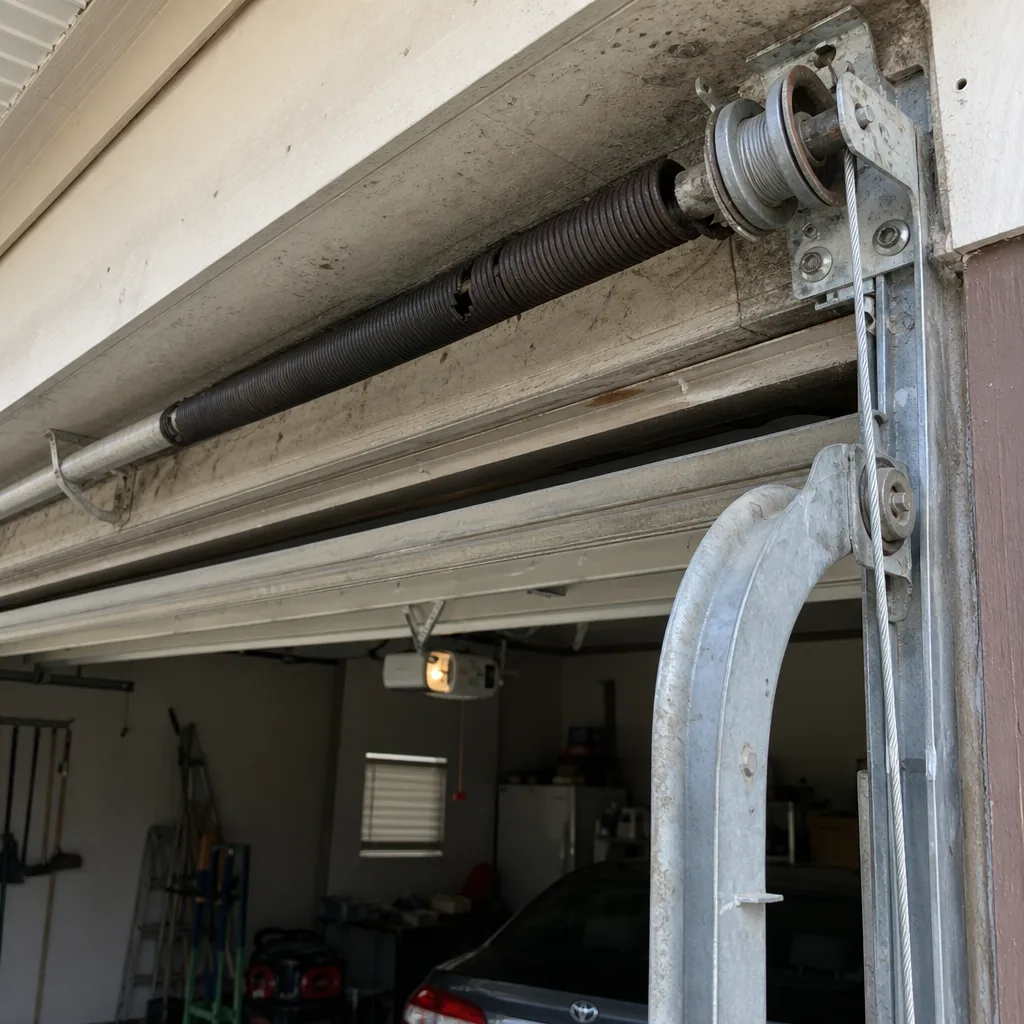 Before
 After
After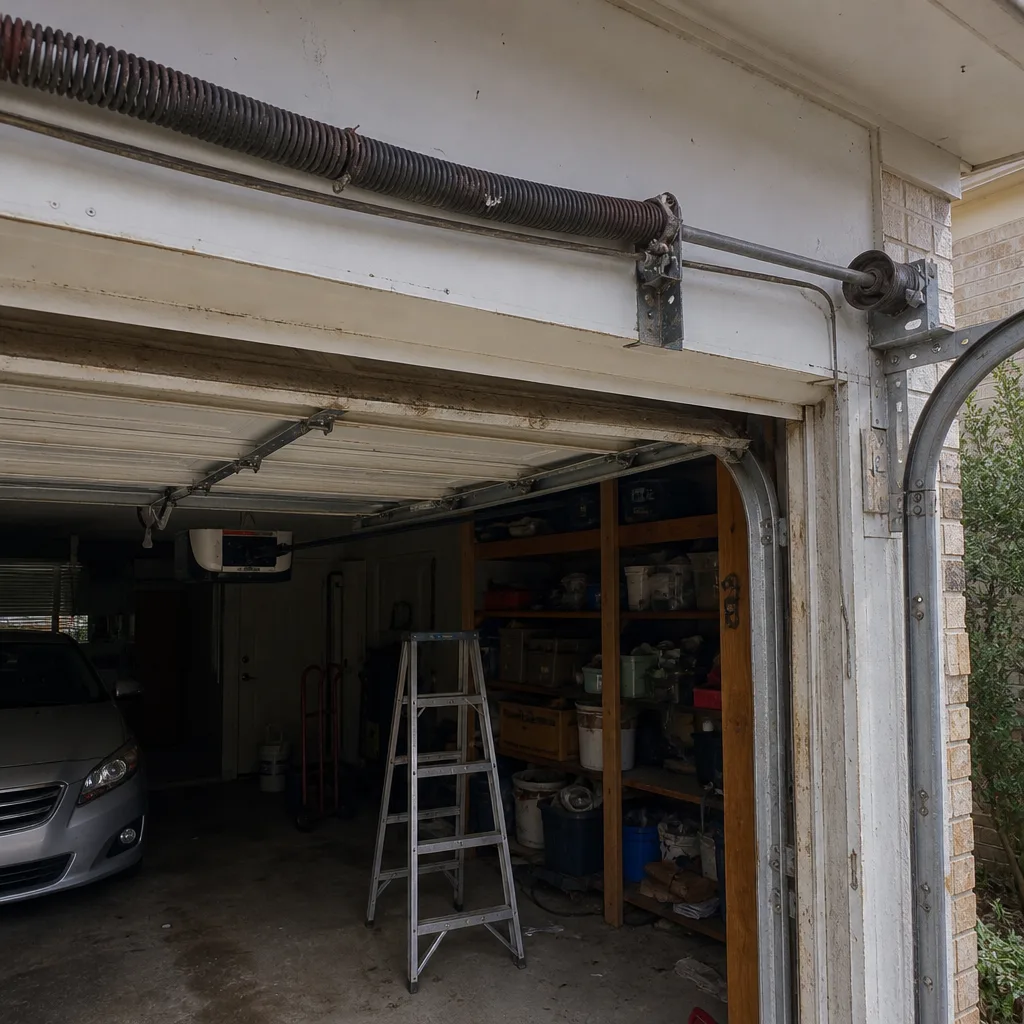 Before
 After
After